Simple DIY Fall Wreath
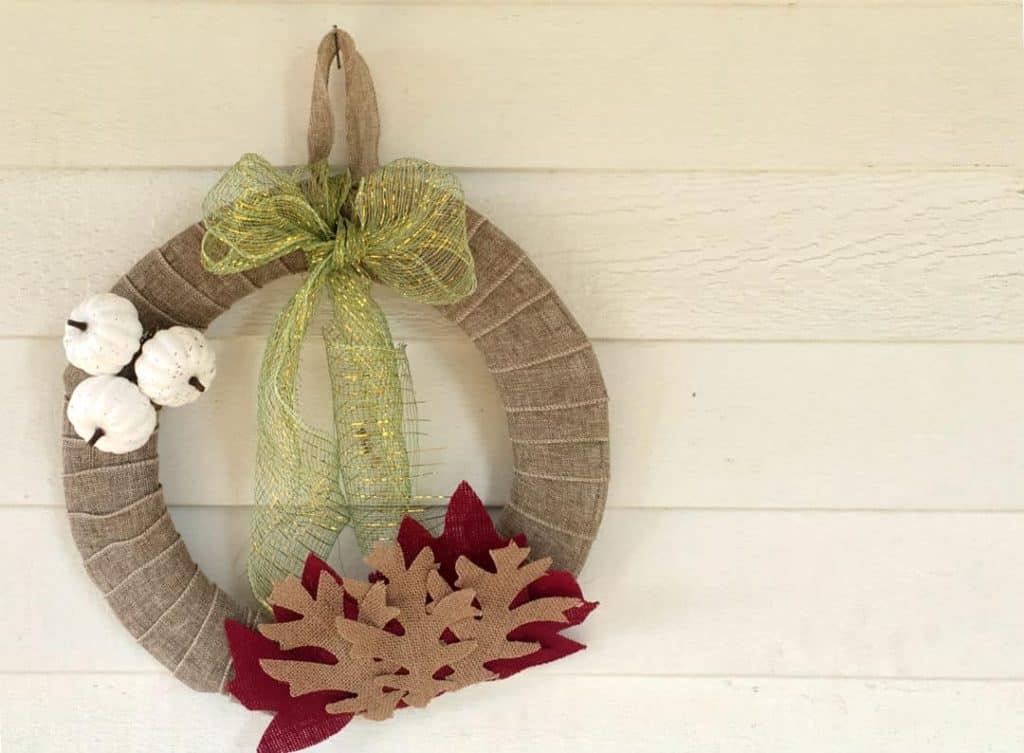
The perfect DIY project to bring in the fall season. Make this simple fall wreath in minutes from items purchased at the Dollar Tree.
I absolutely love living in the Pacific Northwest! Each season brings new smells, sights, and colors. Fall is one of those seasons that doesn’t disappoint! The wonder of all the trees that change their foliage to various colors of reds, oranges, yellows, and browns are absolutely spectacular.
With each season I make a point to truly appreciate and embrace each one for what it brings, finishes, creates, and promises. God is so awesome in all his ways and endeavors, and His creation is one of countless. Fall nights are crisp and inviting with clear, starry skies and bonfires. Storing up the local harvest of apples into sauce and butter sends an aroma through the house that’s heavenly. Pumpkins proudly display their colors in my small patch out in the garden. Our homeschool starts afresh with excitement and renewed inspiration.
Celebrate with Decor
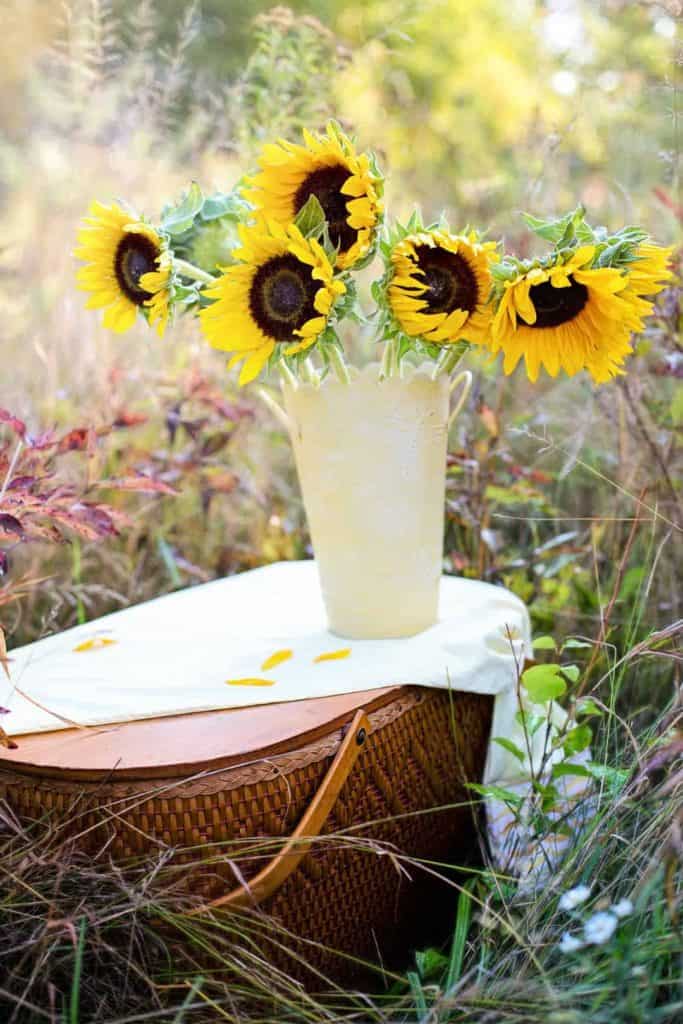
I love to decorate in and around the homestead with simple things from the current season and nature. Bringing a little of the outdoors in brings me joy.
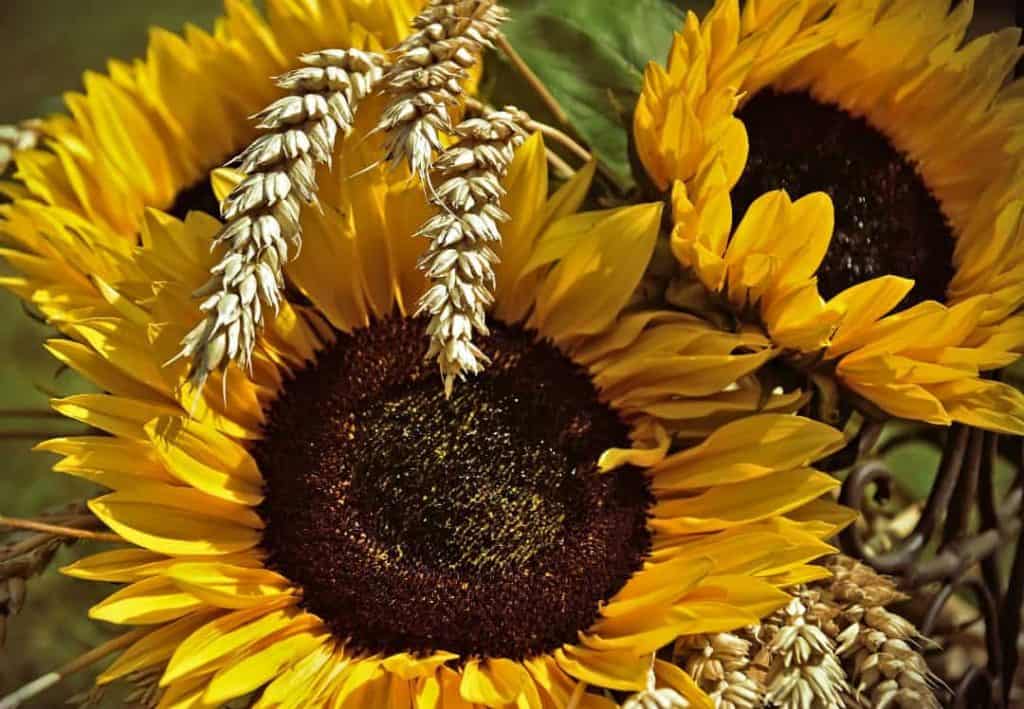
A few ways I like to do this is with flowers, wild grasses or wheat, gourds, and diffusing essential oils inspired by the season.
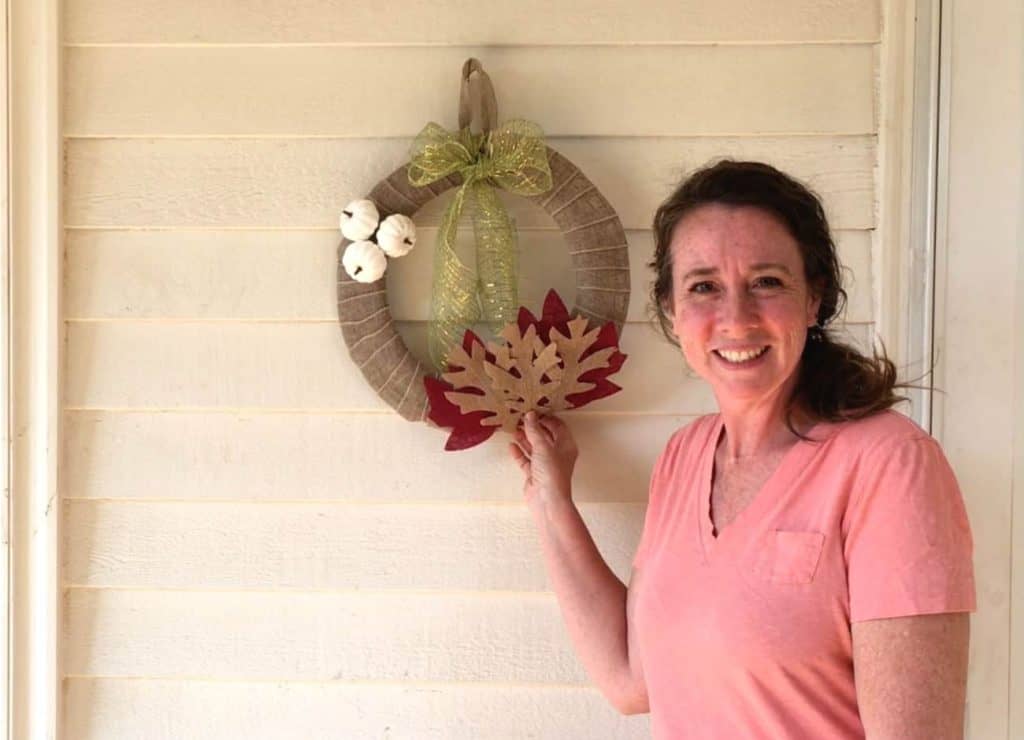
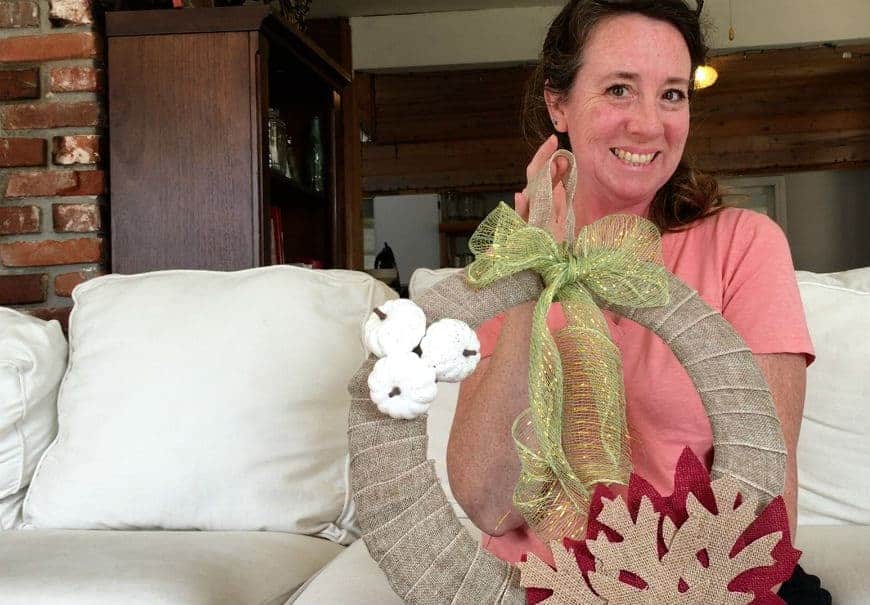
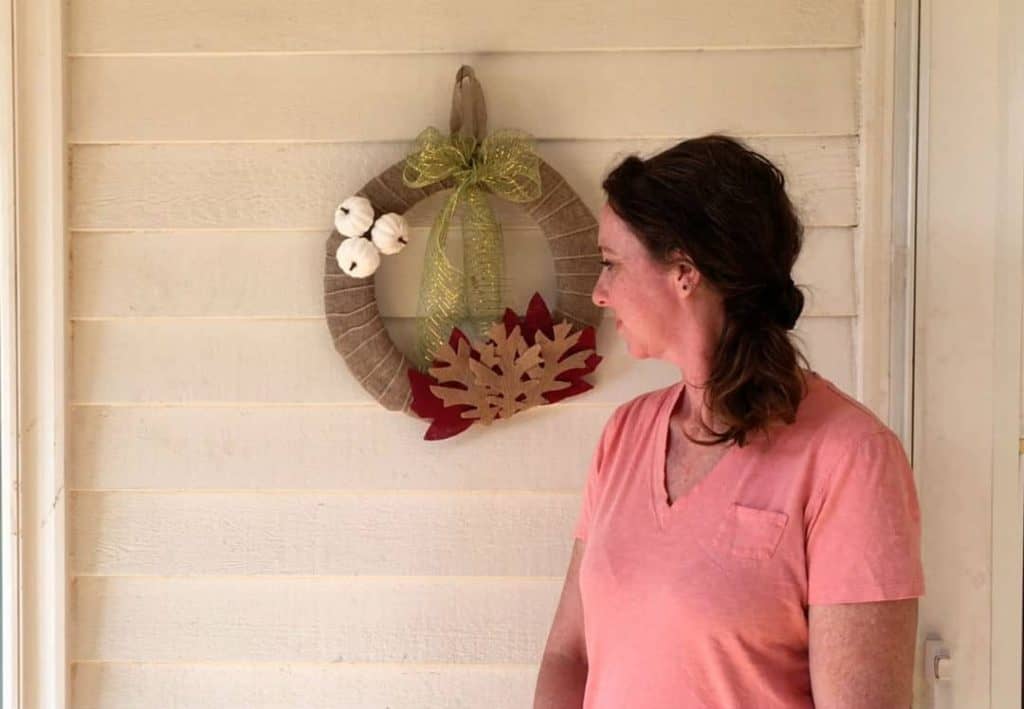
Since it’s the start of fall, today I bring you a simple DIY fall wreath made from a few supplies I purchased at the frugal Dollar Tree. It’s the perfect decoration to hang at my door to greet each one as they pass through our home. And I just love something pretty, don’t you? Especially when I’ve made it. 😉
Video Simple DIY Fall Wreath
More DIY Projects
Visit my Simply Handmade page for more DIY projects like a camp poncho for kids, the most simple bar soap you’ll ever make, a facial moisturizer with SPF, and so much more!
Supplies for Simple DIY Fall Wreath
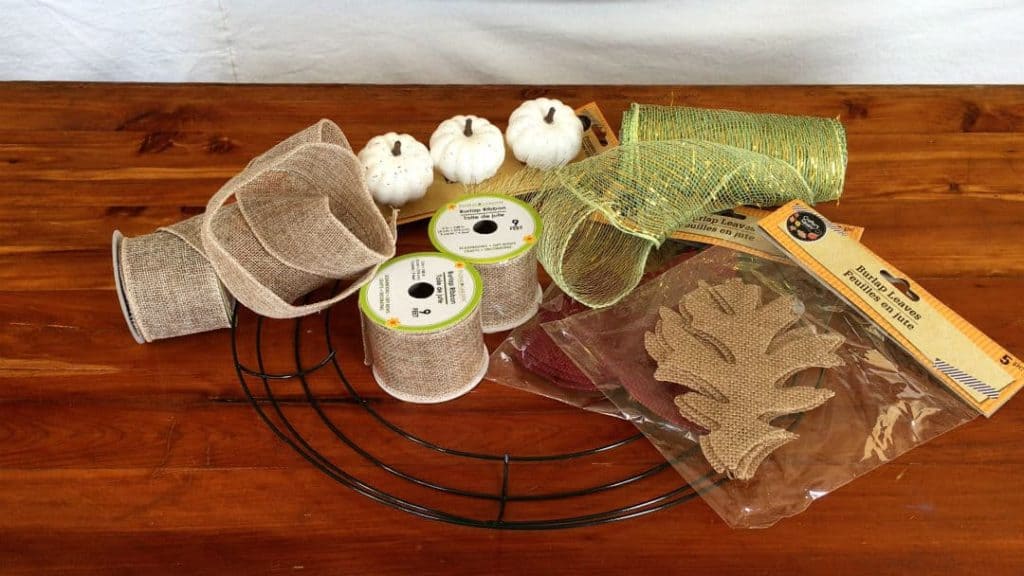
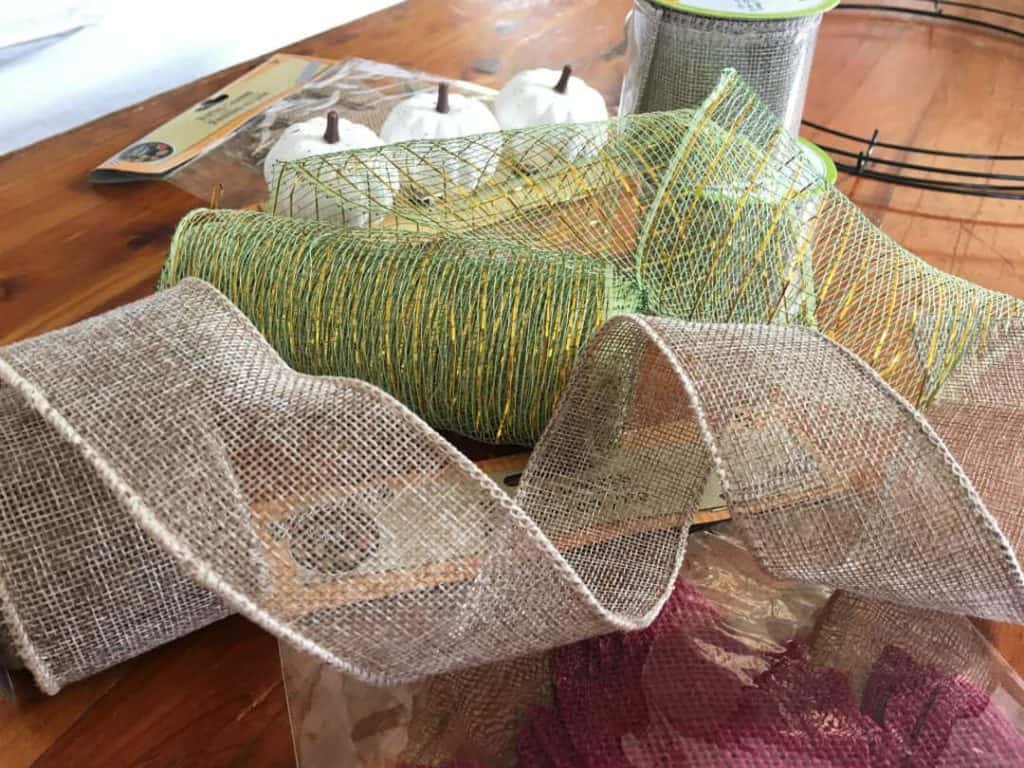
You’ll need to purchase just a few things. If you have a glue gun, I suggest using it to secure your final product to make it more sturdy. If you don’t already own one, they are relatively inexpensive and I’ve used it for various projects and crafts over the year.
You can go as simple or elaborate as you like! Use contrasting colors, same colors but different hues, or just something plain and simple.
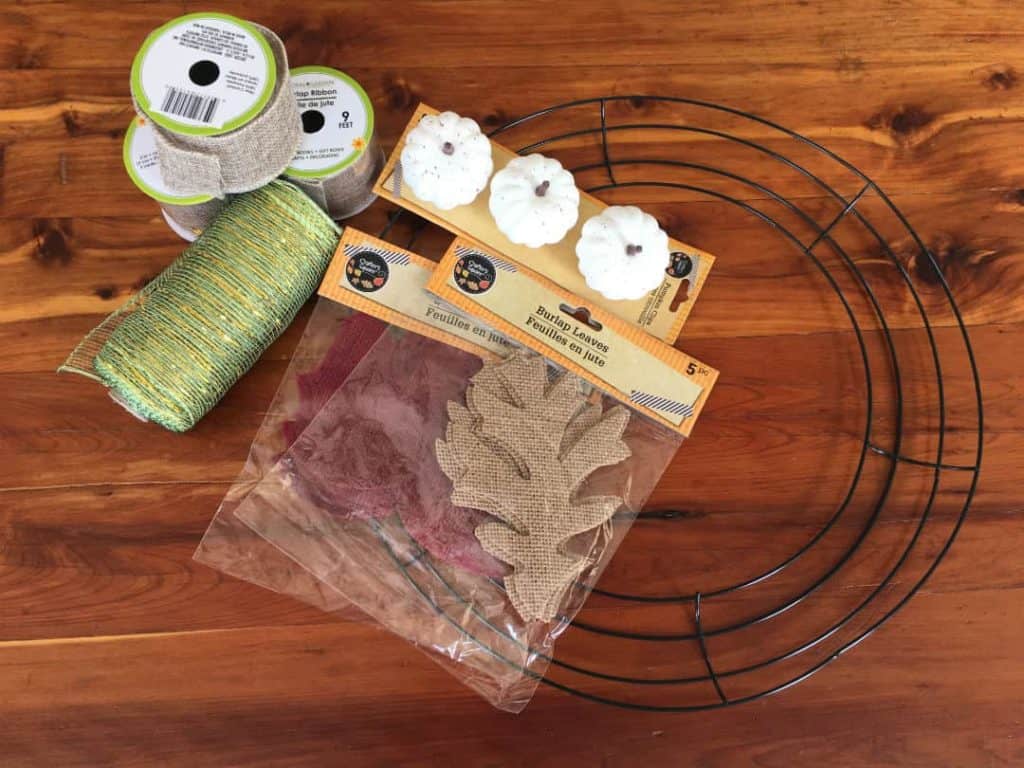
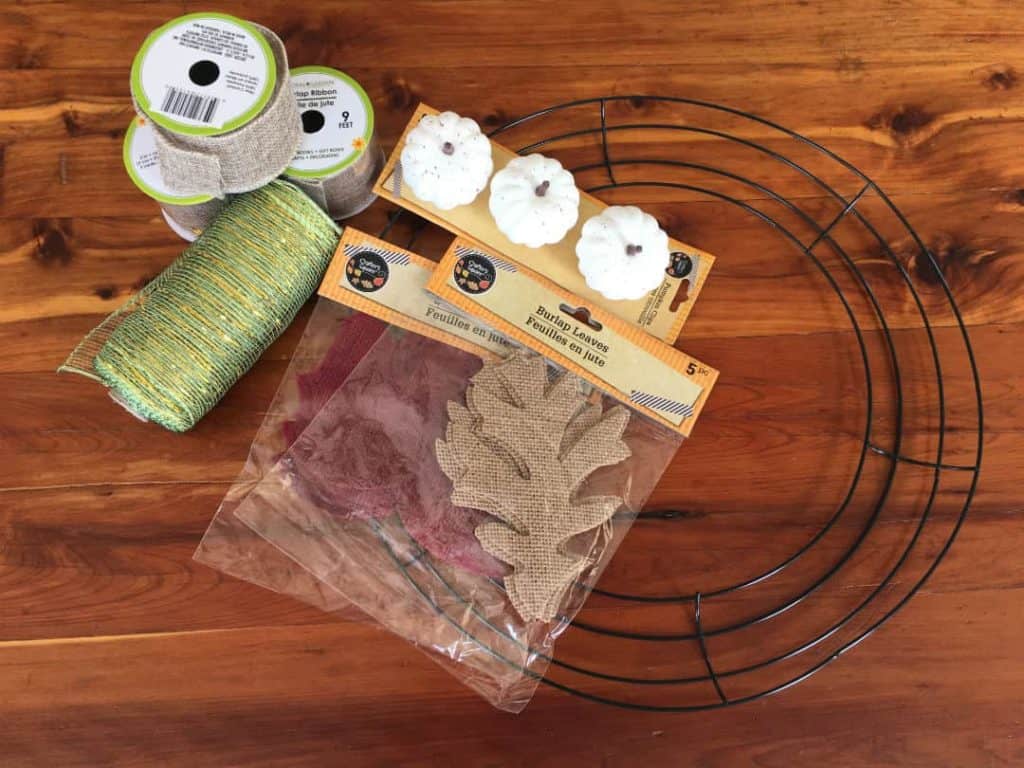
- 1 wreath form, any size — the one in this tutorial is what my store had on hand; I believe it’s an 8 inch form.
- 2-3 rolls of ribbon — I chose the burlap look
- 1 roll of accent ribbon, if desired — used for the bow
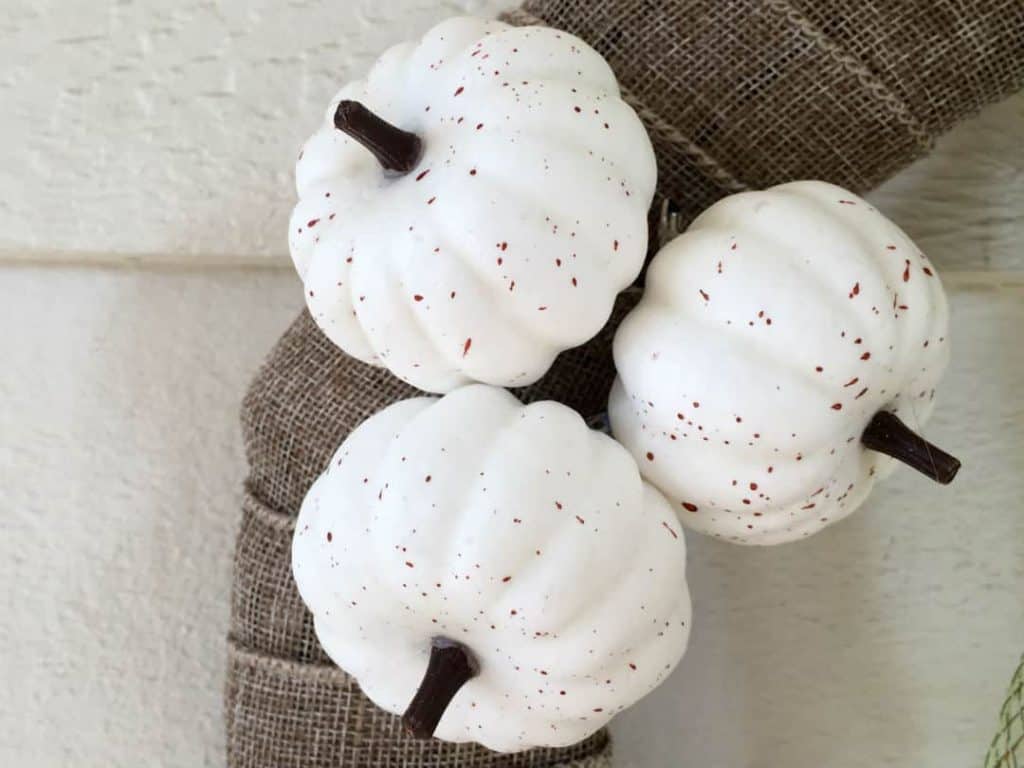
- Various di-cut items like leaves, pumpkins, or whatever speaks autumn to you
Instructions for Wreath
- Begin with the main ribbon of choice. Take the start of the ribbon and weave it in between the rings of the wreath to secure. You could use a dab of hot glue if you wish, but I didn’t find it necessary.
- Wrap the ribbon around, holding onto the spool. As you wrap, overlap the previous covered area by a little to ensure good coverage of the wire frame.
- Continue wrapping around until you come back around to where you started. Weave in the end to secure, or use a dab of hot glue.
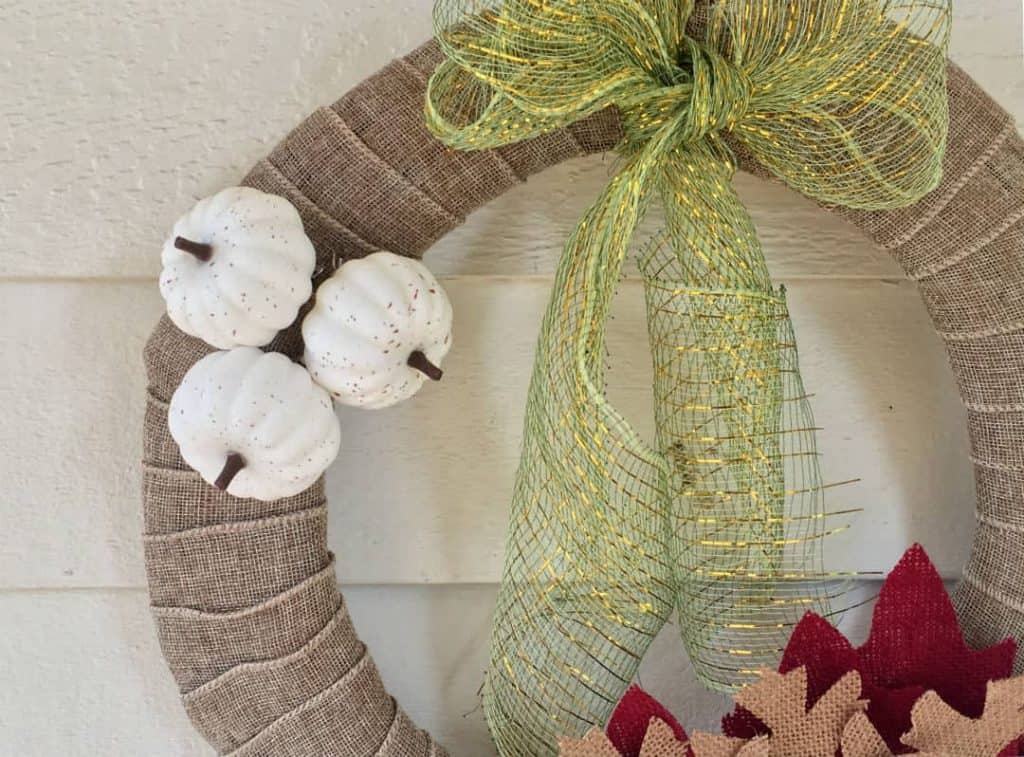
- Now comes the fun, creative part! Decide which die-cut embellishment you want to use as a base and where you want to put it. I find that off-setting the focal point a little gives it a nice look.
- Use a contrasting colored die cut on top of what you just placed. Or just keep it simple. Create according to your preference and style.
- Most important: HAVE FUN! 😉
- Add a bow at the top where the wreath will hang, if desired.
- Cut a piece of ribbon to desired length of loop to hang wreath. I cut roughly an 8-inch piece. Feed that piece through the back of the wreath at the top. I looped mine through the back of the bow. Tie a tight knot, and hide the knot under the back loop of the bow.
- CONGRATULATIONS! Hang your wreath and display proudly, fellow DIYer!
Pin It!
How do you decorate for fall?
I’d love to see how you like to decorate around your home for autumn! Post in the comments below the ways you spruce up around the home this time of year. Share your pictures!



September 12, 2019 @ 10:21 am
I love those tiny pumpkins!
September 12, 2019 @ 12:20 pm
Right?
September 12, 2019 @ 10:07 am
I love this wreath! I love the simplicity of it. Thanks for sharing this tutorial.
September 12, 2019 @ 12:21 pm
Thank you so much!
September 12, 2019 @ 8:25 am
How cute! This really gets me in the mood to start decorating for fall! Its still so hot here in Texas, but maybe some fall décor will make it feel a little cooler? Thanks for the great post!
September 12, 2019 @ 12:28 pm
Thanks, Jen! I used to live in HI, and totally get what it’s like to decorate when the outside temps do not reflect what latte’s featured at Starbucks.