DIY Bar Soap Recipe | Easy, All-Natural
An all-natural DIY bar soap made using the hot process method makes this fast and ready to use the same day.
This post contains affiliate links, which means I make a small commission at no extra cost to you. Get my full disclosure HERE.
I love to make as many of our household products as I can. It saves lots of money, since we don’t use any products that contain toxic chemicals anymore. And buying toxic-free and organic products are pricey! Thus, I’ve become a frugal nerd.
Making your own DIY bar soap can be a joyful and rewarding experience. It also can get pretty technical, with fancy equipment, ratios, and a variety of oils that can be used.
I like to keep things very simple around our little farmhouse. This easy, DIY bar soap recipe serves that purpose well. Utilizing a crockpot and a little over an hour of my time provides our family with a supply of bar soap. This soap can last us months, even up to 6+ if we use loofahs.
Hot process soap
My favorite way to make our cleansing bar soap is with the hot process method. This simply means that the lye is cooked out right away, thus making it usable immediately, versus the cold process method and waiting weeks for the lye to be safe for use. I use an old, designated crock pot to make it nearly hands-off.
Tools needed for DIY Bar Soap Recipe
- An old 8 qt. crockpot dedicated for soap making purposes
You want to use an old crock pot that you don’t normally use for everyday cooking. Lye solution may wear down and etch the enamel coating of the crock pot over the years. As a result, the crockpot could break.
- Glass bowls and stainless steel utensils
When working with lye, only use glass containers and non-aluminum/tin utensils for mixing and stirring.
- Digital scale (this is the one I use)
- Stainless steel immersion blender, like this one
Video DIY Bar Soap Recipe
Ingredients for DIY Bar Soap Recipe
This recipe makes a loaf-pan size amount of soap. In the video I used something similar to this mold and a flower mold (of which I can’t remember for the life of me where I purchased), which yielded 6 flowers and 9 rectangles.
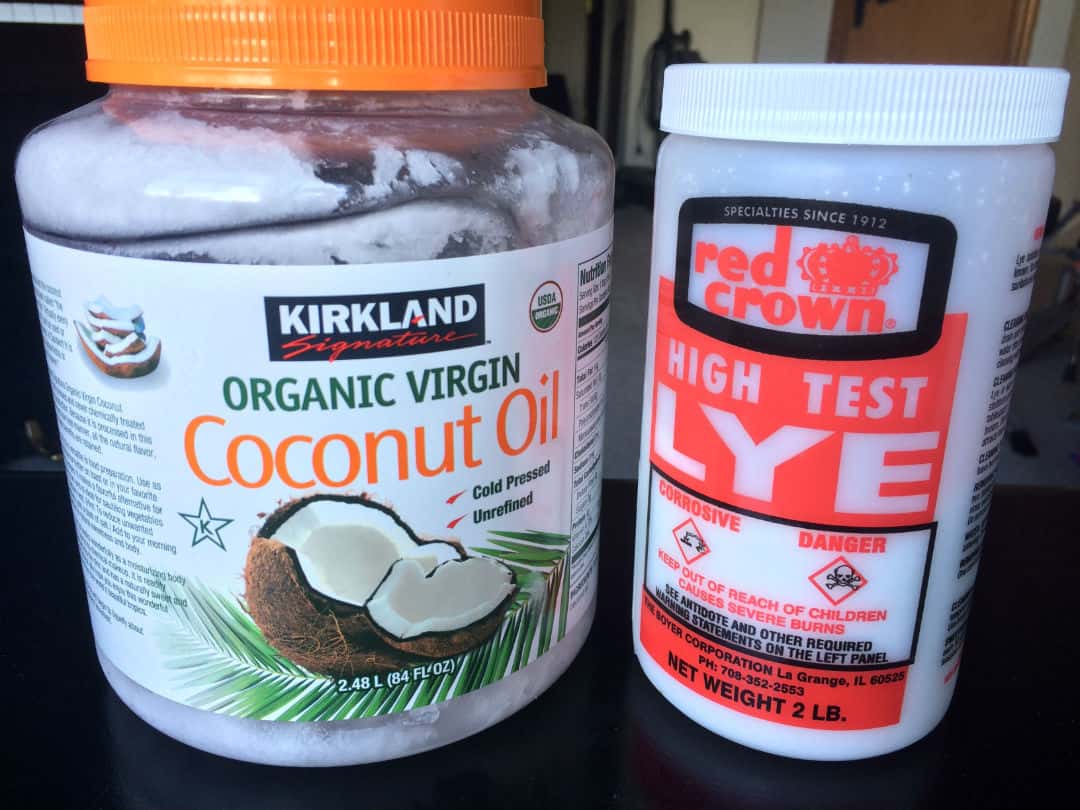
33 oz coconut oil, extra virgin. I buy mine at Costco or you can get it here
4.83 ounces lye (I buy this one)
12.54 oz water
.5 – 1 ounce essential oils (optional)
Process | DIY Bar Soap Recipe
- Weigh out the coconut oil and place in the crockpot. Turn on the crockpot to HI or LOW. Mine is old so I use the HI setting.
- Mix the lye with the water. TO DO THIS: Pour water into a glass bowl or measuring cup and take outside. I do this outside where it’s well ventilated and away from my kids.
- With your protective gear on, i.e. rubber household gloves and safety glasses or goggles, gently sprinkle the measured lye INTO the water. NOT the other way around. ***
- Carefully stir the lye solution. Let it set outside for about 10 minutes. The lye solution will be clear when fully dissolved.
- Next, slowly and carefully add lye solution to melted coconut oil in the crockpot. Stir a few times to incorporate.
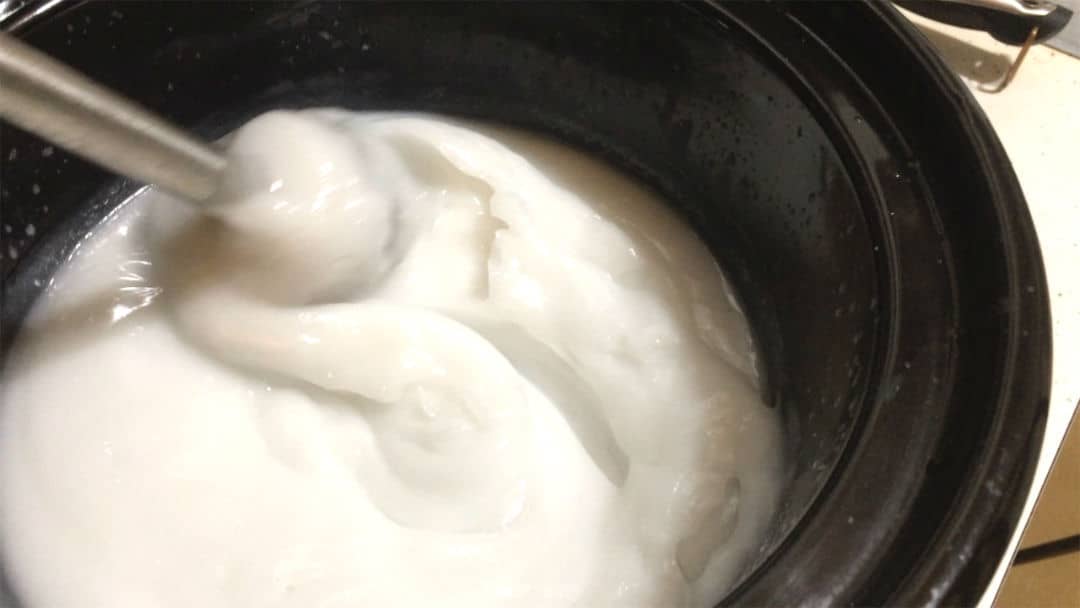
- Using an immersion blender, blend mixture until trace is achieved (a thickness like pudding)
- Cover the crockpot and continue to cook for 1 hour. During this time the soap mixture will rise and fold onto itself.
- After the soap has cooked long enough, it will appear slightly translucent. You can use PH strips to test if it’s done (PH of 7-10), but I like to use the easy DIY test: take a small piece of the cooked soap in between your fingertips. It should feel like wax. Touch it to your tongue. If you get a zap, or intense sting feeling, it’s not done. Cook an additional 20 min. and check again. I’ve never had this happen, however.
- If you’re adding essential oils, do that now and stir in well. I don’t always add oils. This time I did. I used .5 oz of anise and .5 oz ylang ylang essential oils.
- Now pour your soap into a silicone loaf pan, parchment paper-lined loaf pan, or other mold of choice. I like to use silicone molds because of their ease and fun shapes. At first I used my trusty pyrex glass loaf pan.
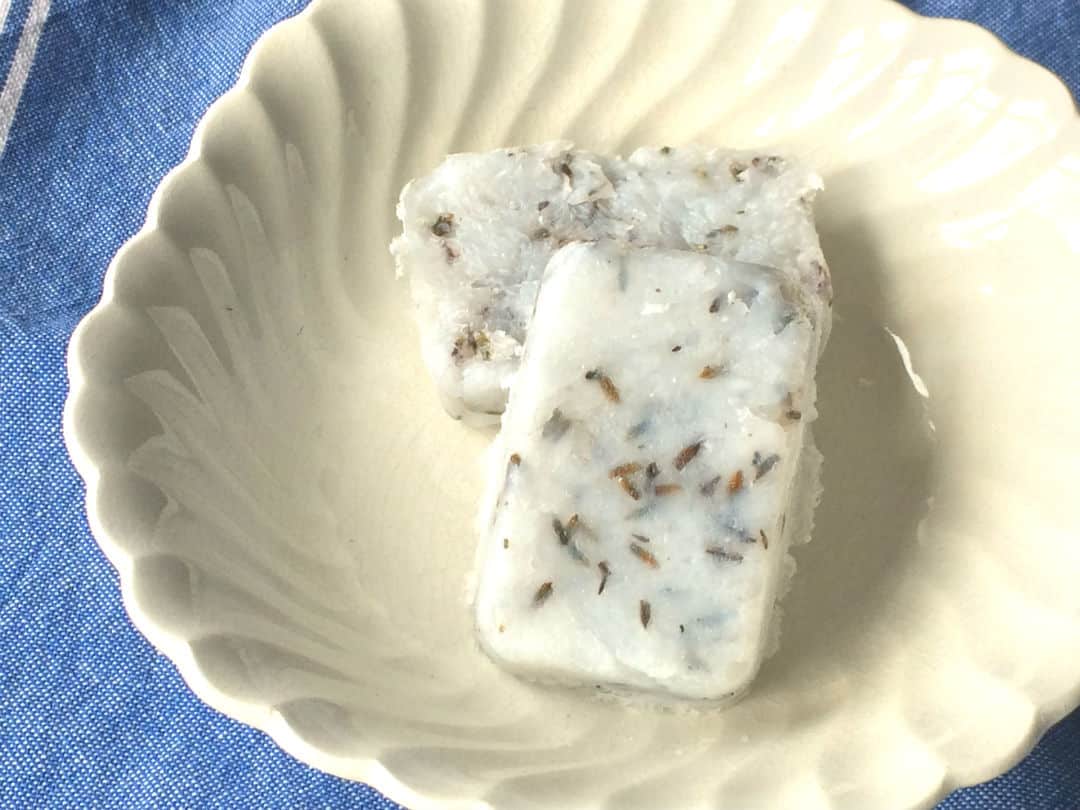
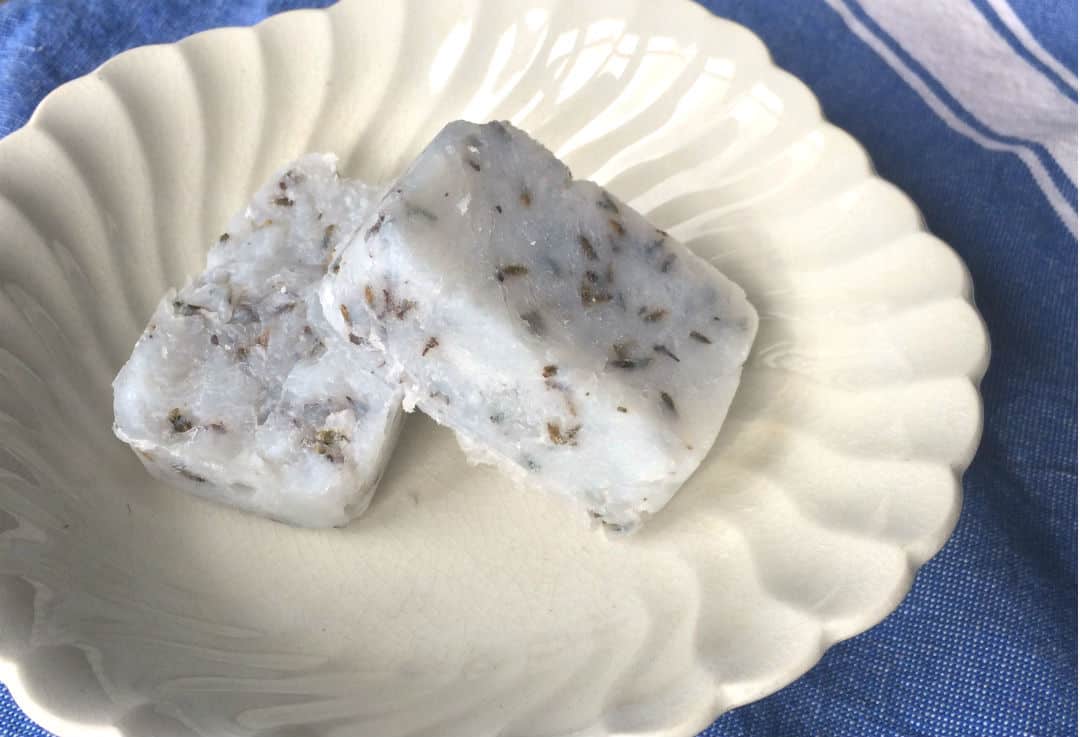
- Once the soap is cooled and firm, pop out of the molds, or if using a loaf pan, slice into bars. It’s important to slice your coconut oil soap once it’s firm. If you wait too long it will become very hard and thus difficult to slice into bars.
- Place the bars onto wire racks with space for airflow. Let sit for a few days to finish curing. Although, I usually use a bar right away because… well, out of soap. It works great!
*** Notes:
“It’s smarter to add lye to water! Add water to lye and you may die!” This is a popular rhyme to help you remember the order in which to mix your lye solution.
In the Lye Safety Guide article, the Soap Queen gives this explanation: “Mixing water and lye creates an exothermic reaction that causes a dramatic temperature increase.” Hence the reason we never want to add water to lye. “Doing so can cause the lye to expand, or erupt, out of the container.”
Clean up
I always place a large stainless steel bowl in my sink filled with 3 parts water to 1 part distilled vinegar. Use this to deactivate all utensils and bowls that come in contact with lye during the process. Then wash everything thoroughly with soap and water.
Lye is very caustic and can cause burns on the skin. Therefore, it’s important to wipe down all tools, counters and equipment used with vinegar. I always have a spray bottle of vinegar and water, since that’s what I use to clean my house.
Shop this post
Silicone Loaf Mold, 12 Cavity Mold
Essential Oils
The essential oil companies I use and trust are Rocky Mountain Oils and Revive. Both companies provide therapeutic grade oils, and GC/MS test results from a third-party, verifying purity and quality of the oils sold.
Side note on testing: GC/MS is chromatography and mass spectrometry testing. As in NCIS Abby-style testing! OK, I just nerded out a little there. 😉
Rocky Mountain Oils has a nice rewards program. I use this company when I want an oil that Revive doesn’t offer.
Revive is where I find myself purchasing most of my oils these days because they are slightly cheaper. I’m all about the best price for the highest quality.
These companies’ oils are of the same quality as DoTerra and Young Living brands, but Rocky Mountain and Revive are able to offer their oils at a cheaper price because they aren’t an MLM. Not saying that’s a bad thing at all. But for this budget-conscious mama, I tend to stay away from those types of companies now. (However, I used to buy Young Living. Oh, and way back in the day: Melaleuca.) Just being real with ya, ladies.

DIY Easy Bar Soap
Materials
- 33 oz coconut oil extra virgin. I buy mine at Costco or you can get it here
- 4.83 ounces lye I buy this one
- 12.54 oz water
- .5 – 1 ounce essential oils optional
Instructions
- Weigh out the coconut oil and place in the crockpot. Turn on the crockpot to HI or LOW. Mine is old so I use the HI setting.
- Mix the lye with the water. TO DO THIS: Pour water into a glass bowl or measuring cup and take outside. I like to do this outside where it’s well ventilated and away from my kids.
- With your protective gear on, i.e. rubber household gloves and safety glasses or goggles, gently sprinkle the measured lye INTO the water. NOT the other way around. ***
- Carefully stir the lye solution. Let it set outside for about 10 minutes. The lye solution will become clear when it’s fully dissolved.
- Slowly and carefully add lye solution to melted coconut oil in the crockpot. Stir a few times to incorporate.
- Using an immersion blender, blend mixture until trace is achieved (a thickness like pudding)
- Cover the crockpot and continue to cook for 1 hour. During this time the soap mixture will rise and fold onto itself.
- After the soap has cooked long enough, it will appear slightly translucent. You can use PH strips to test if it’s done (PH of 7-10), but I like to use the easy DIY test: take a small piece of the cooked soap in between your fingertips. It should feel like wax. Touch it to your tongue. If you get a zap, or intense sting feeling, it’s not done. Cook an additional 20 min. and check again. I’ve never had this happen, however.
- If you’re adding essential oils, do that now and stir in well. I don’t always add oils. This time I did. I used .5 oz of anise and .5 oz ylang ylang essential oils.
- Pour your soap into a silicone loaf pan, parchment paper-lined loaf pan, or other mold of choice. I like to use silicone molds because of their ease and fun shapes. But when I first started, all I had was my trusty pyrex glass loaf pan.
- Once the soap is cooled and firm, pop out of the molds, or if using a loaf pan, slice into bars. It’s important to slice your coconut oil soap once it’s firm. If you wait too long it will become very hard and thus difficult to slice into bars.
- Place the bars onto wire racks with space for airflow. Let sit for a few days to finish curing. Although, I usually use a bar right away because… well, out of soap. It works great!
Notes
Pin it!

Do you make your own soap?
What’s your favorite way to make soap? If you’ve never tried it, will you make this super easy, DIY bar soap recipe? If so, let me know how you liked it!

July 16, 2025 @ 9:11 am
I love it. Thanks Amy!
June 27, 2021 @ 8:45 am
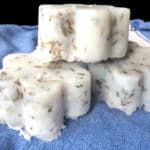
Hey there, great tutorial. The soap looks amazing! What are the little dark flakesI see in there? Is it shredded coconut?
August 15, 2021 @ 1:22 pm
Hi Catherine—those flakes are dried lavender. Thanks for stopping by!