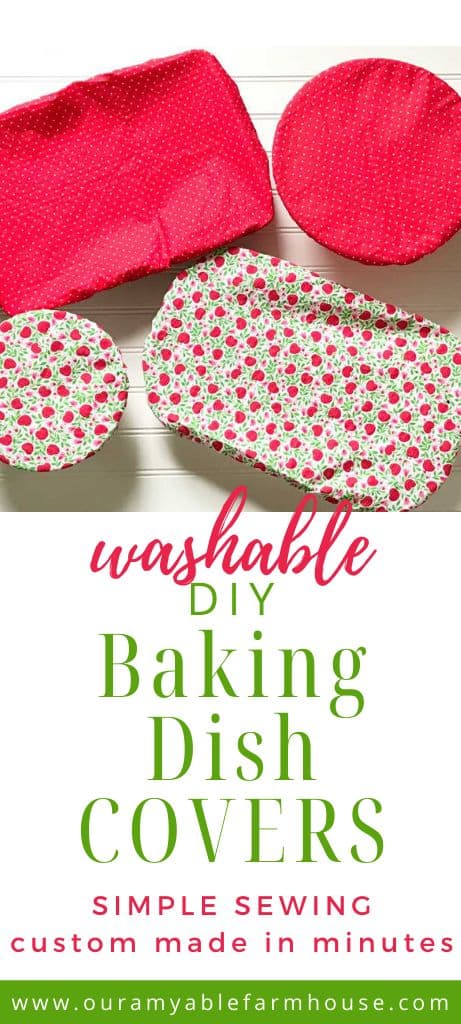
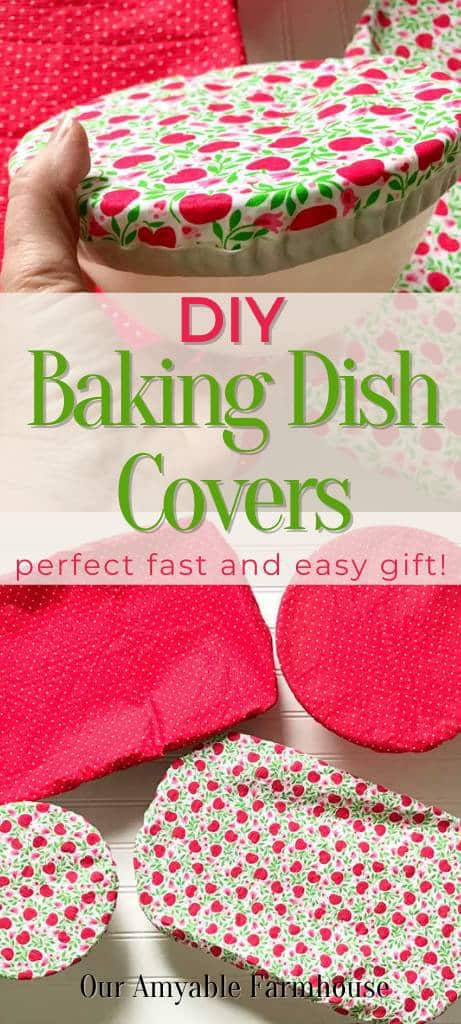
DIY Baking Dish Covers | Simple Sewing With Scrap Fabric
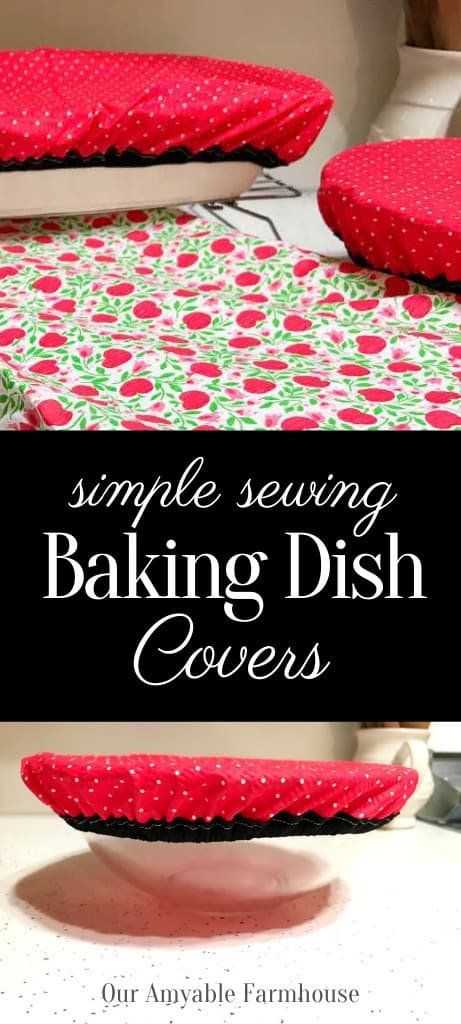
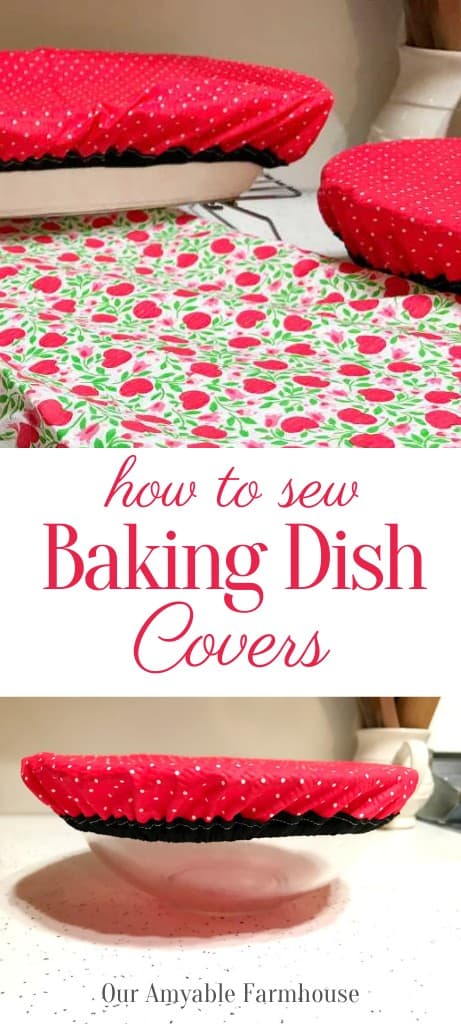
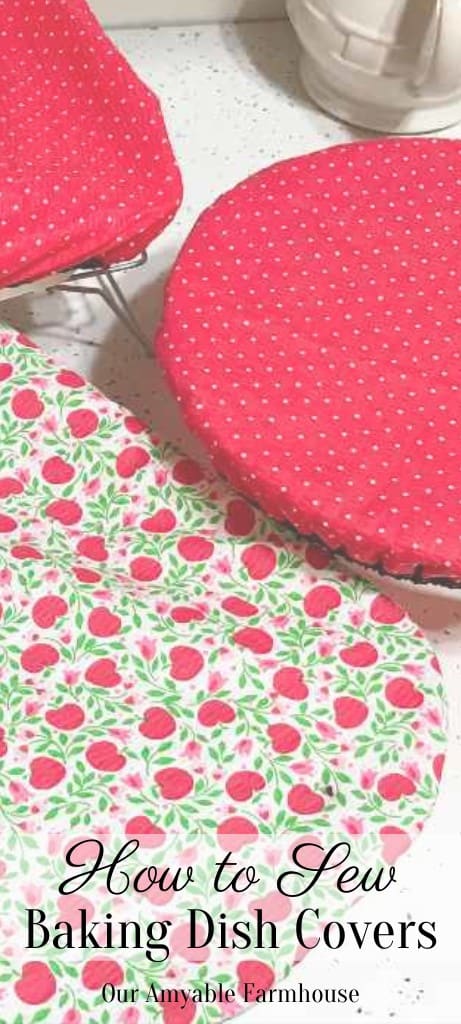
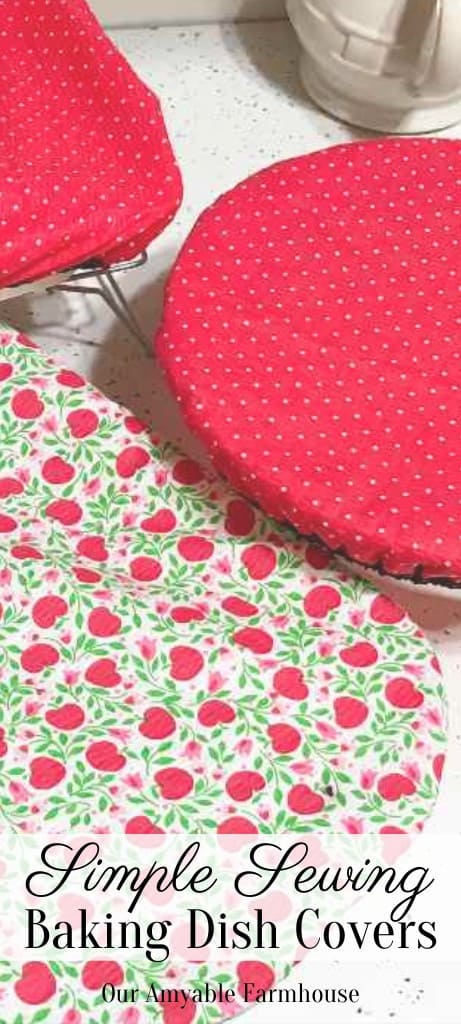
This simple sewing tutorial will produce DIY baking dish covers in a matter of minutes. What better way to cut down on consumables and make use of scrap fabric!
Honestly, this idea came about when I needed a lid for one of my glass storage containers because the plastic top it came with finally bit the dust after years of use. (I may or may not have tried to use it in my Instant Pot and it didn’t survive.) Thus the DIY baking dish covers to the rescue.
Have you ever tried to find replacement lids for those glass containers? Yeah, you’re not going to. P.s. if you do, drop me a note in the comments below.
On so many different occasions I’ve found the need to cover casserole dishes, whether it was for rising rolls overnight in the fridge, a platter of leftovers, or the like, and would reach for tin foil or plastic wrap. But I was tired of all the waste.
Why Would You Want to Make DIY Baking Dish Covers?
Do you get tired of buying something that is mostly used once and then thrown away?
The more homesteading I learn, try, and put into practice, the more I think about these things. I really like the idea of not having to rely on the store so much. Especially after the year we’ve just endured. Can I get an AMEN?
Maybe I’m becoming a little too squeaky with my budget. It really burns me to “throw” money away on products that I, well, throw away.
So no more, I say. I’d rather put some scrap fabric to good use.
In this tutorial, I’m going to show you how to DIY yourself into some fantastic function that you’ll love to use over and over again. Most importantly it’s easy and quick, and even makes great gifts!
Besides, the feeling I get from, once again, creating something for my family and home? Enter the chorus of high-chord harmonies.
DIY Baking Dish Covers—The Perfect Gift!
These would make a great hostess gift, new home owner, bridal shower, Mother’s Day, and a birthday gift for your girlfriends. In fact, why not just gift them to yourself.
Just a little time and a lot of heart makes a precious handmade item from you to them!
I absolutely love to receive gifts like this. They are precious to me. Especially when I know I was prayed for when the maker was creating it just for me.
Video DIY Baking Dish Covers
More Gift Inspiration
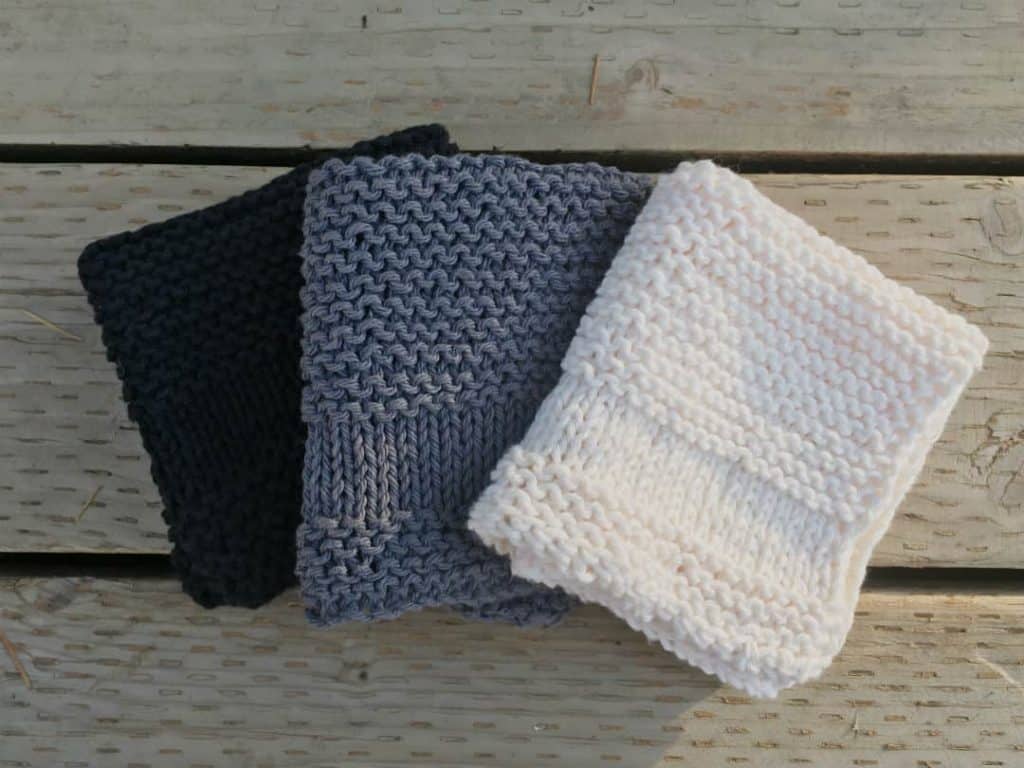

How To Knit A Farmhouse Dishcloth
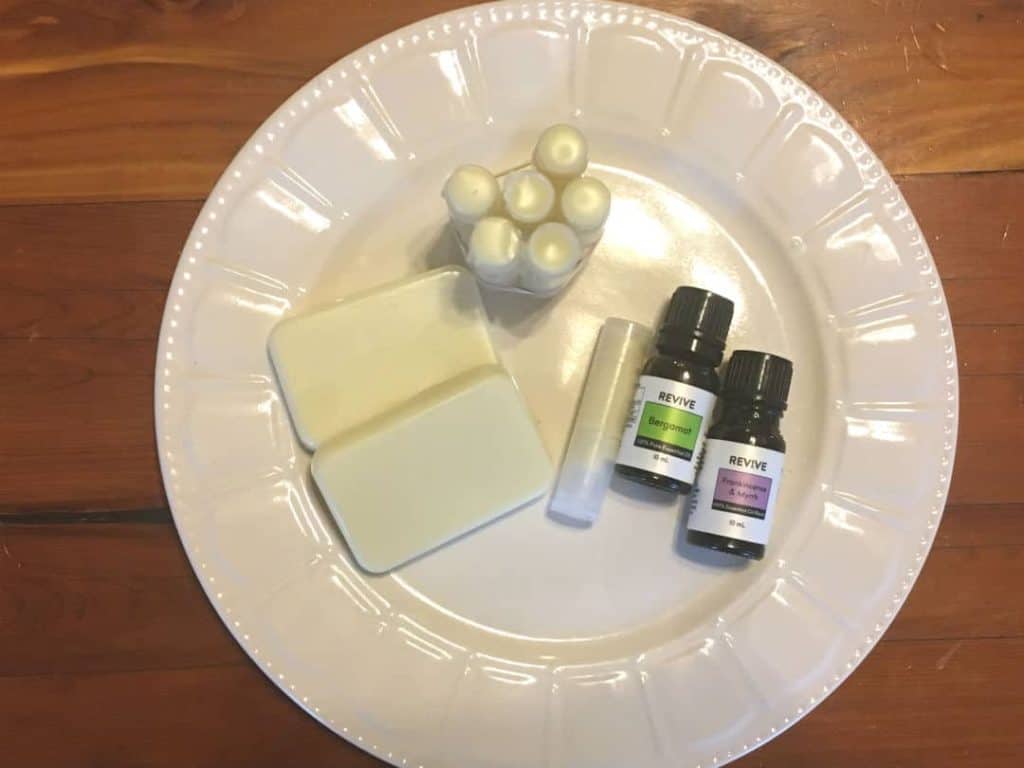
How To Make Hard Lotion And Lip Balm
And more under the Simply Handmade tab
Special Equipment You May Need
Sewing machine—I don’t own this particular model, but it looks like a great sub, especially for beginners. At the time of this post, it seems to be a little hard to get a hold of a descent machine because of manufacturing this year.
Materials Needed
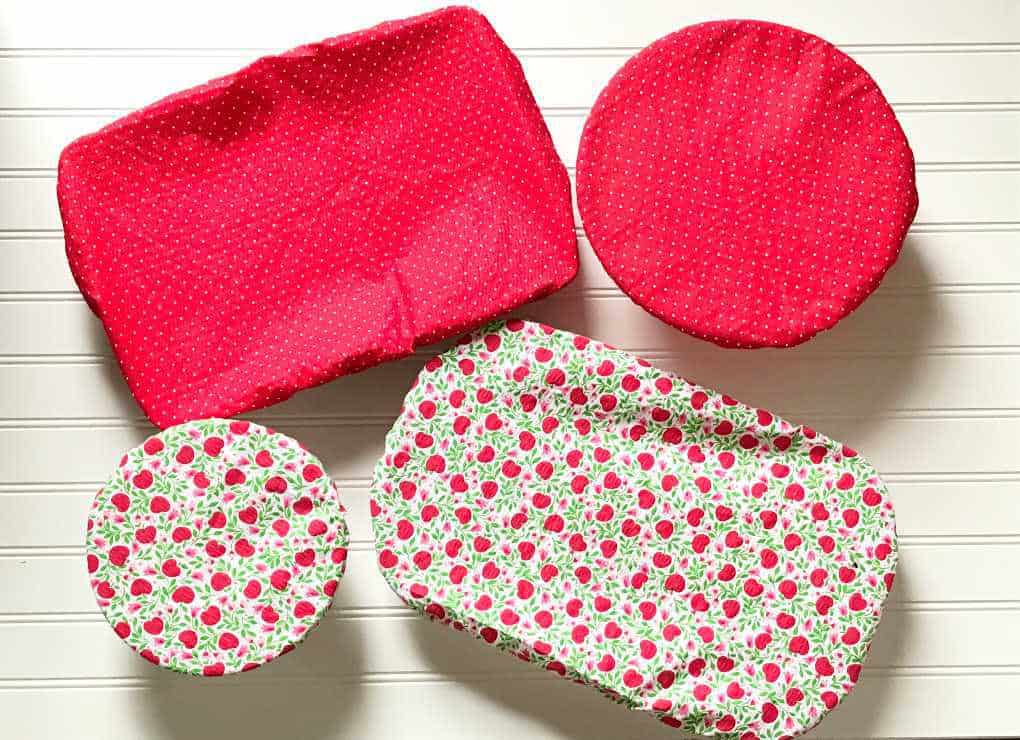
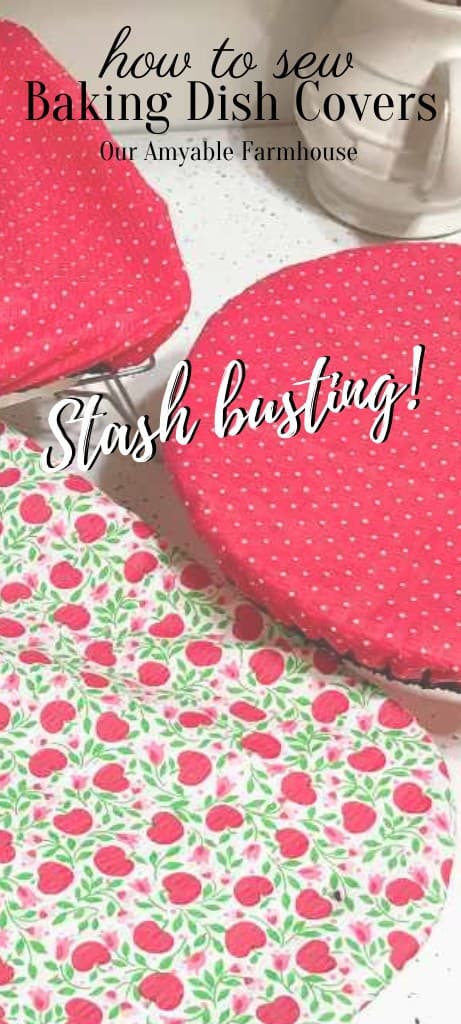
- Scrap fabric; you can also use fat quarters if you’re fresh out of scraps. Think super fun prints for gifts, seasons, etc.
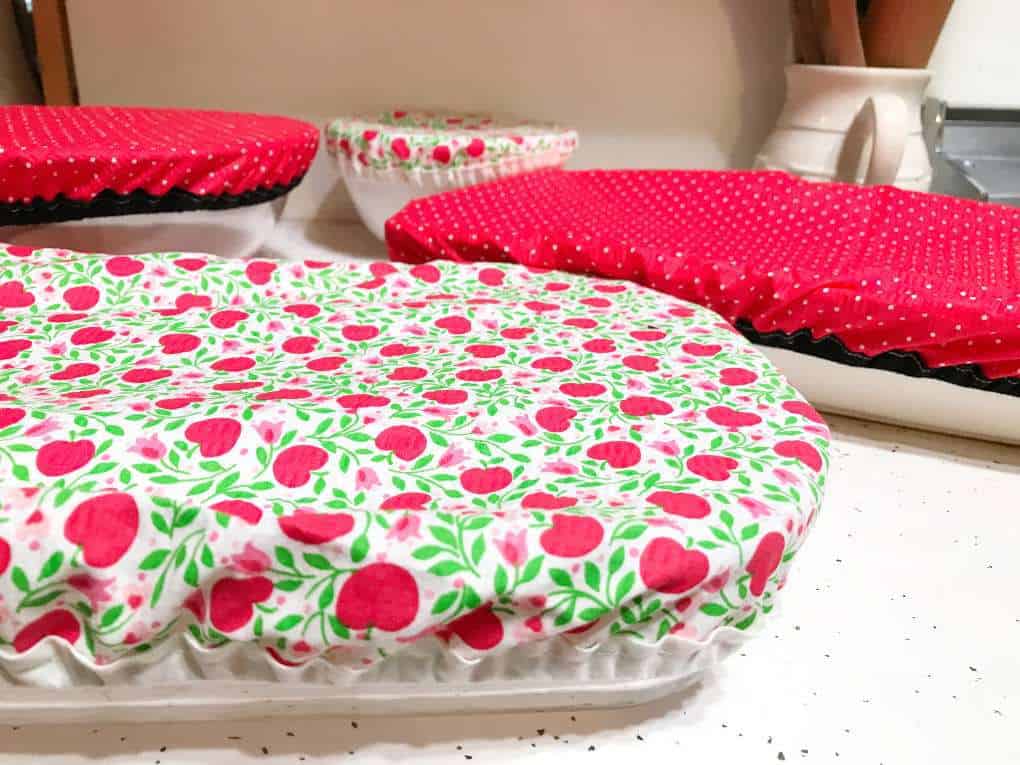
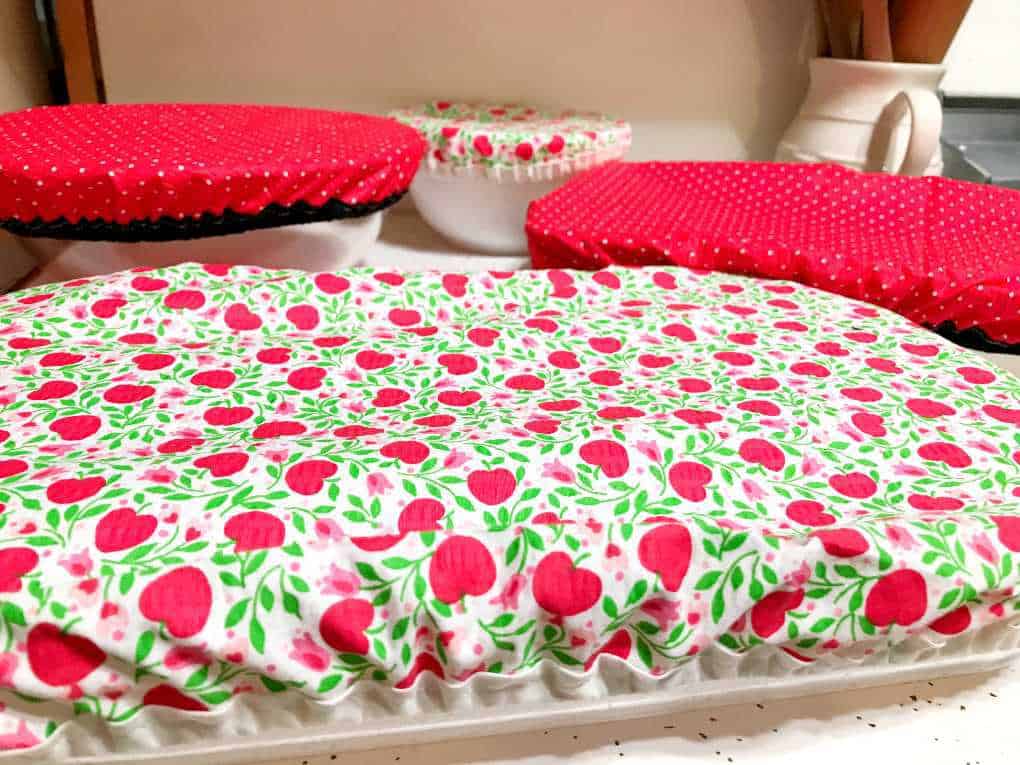
- Various sized baking dishes, like casserole dishes, bowls of all sizes, and platters.
- 1/4″ elastic, I like to buy this in bulk when possible
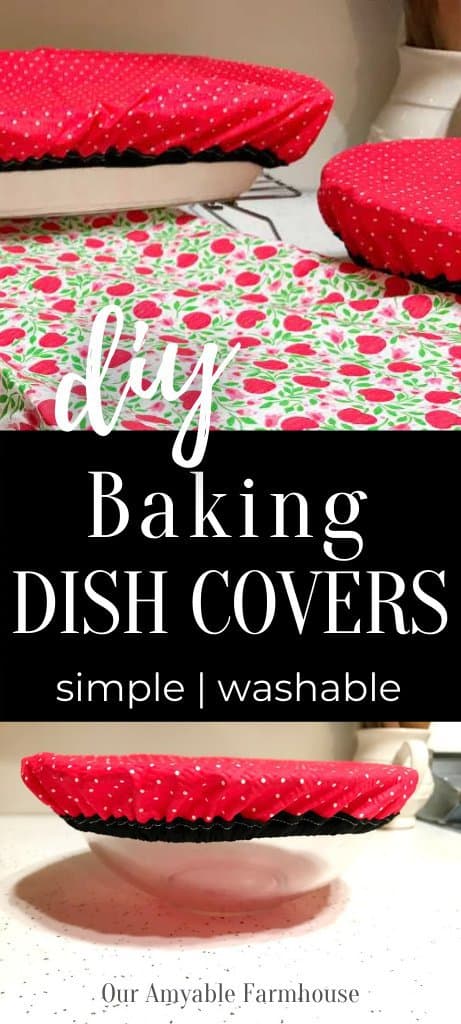
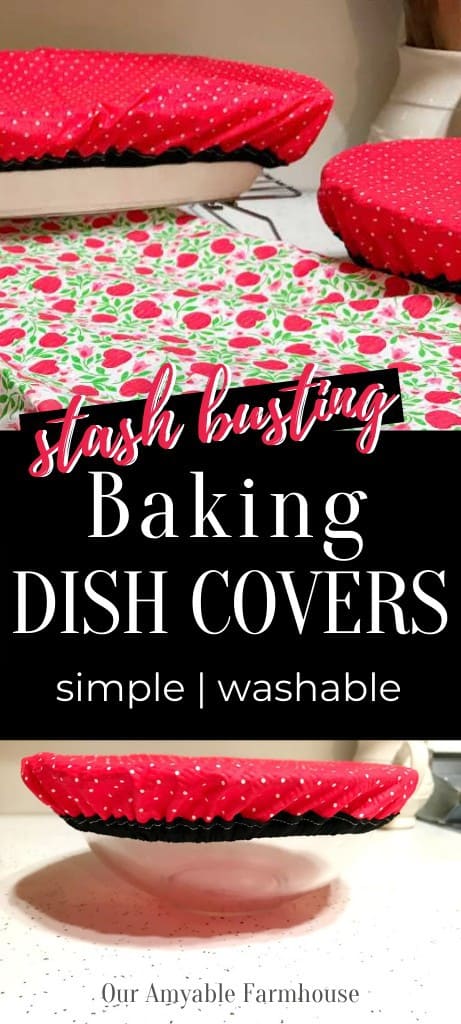
- 1 package Extra Wide Double Fold Bias Tape, or more depending how many covers you’re making. I was able to make covers for a 9″x13″ size and medium sized mixing bowl with this package. Bias tape can be optional as you could simply create a casing for the elastic by cutting the fabric extra wide by a few inches and fold over and press before stitching.
- Scissors
- Thread for sewing
Instructions
- Place the dish you want a cover for on the wrong side of your fabric. Trace around the outside perimeter, with an extra 1-2 inches. If not using bias tape, add an additional inch or so to make a casing for the elastic.
- Sew the bias tape to the edge of fabric. Do this by placing the edge of the fabric inside the fold of the bias tape and stitch close to the edge along the opposite edge of the fold. Leave an opening about an inch from the end.
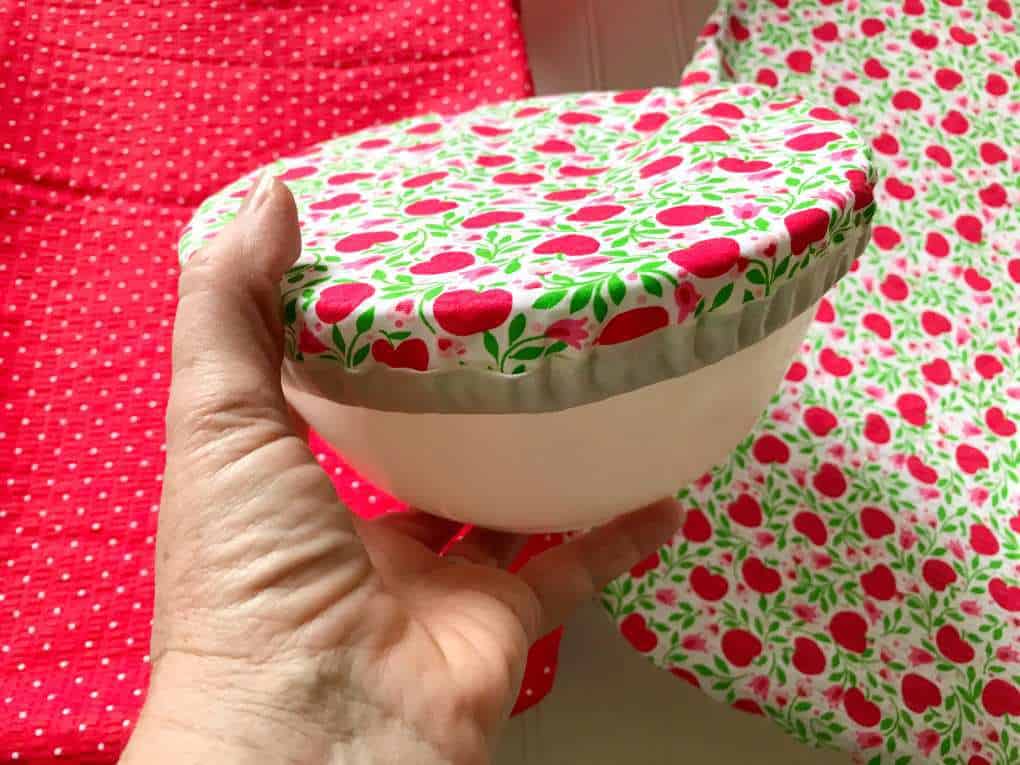
- Measure how much elastic you need by wrapping the elastic around the perimeter of the dish. Using a large safety pin, feed the elastic through the opening you left at the end of the bias tape.
- Secure the ends of the elastic by overlapping its ends and stitching back and forth a few times for reinforcement.
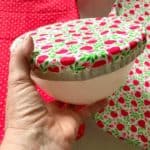
- Sew the end of the bias tape. Enjoy your new, reusable and washable dish cover!
Save for Later!
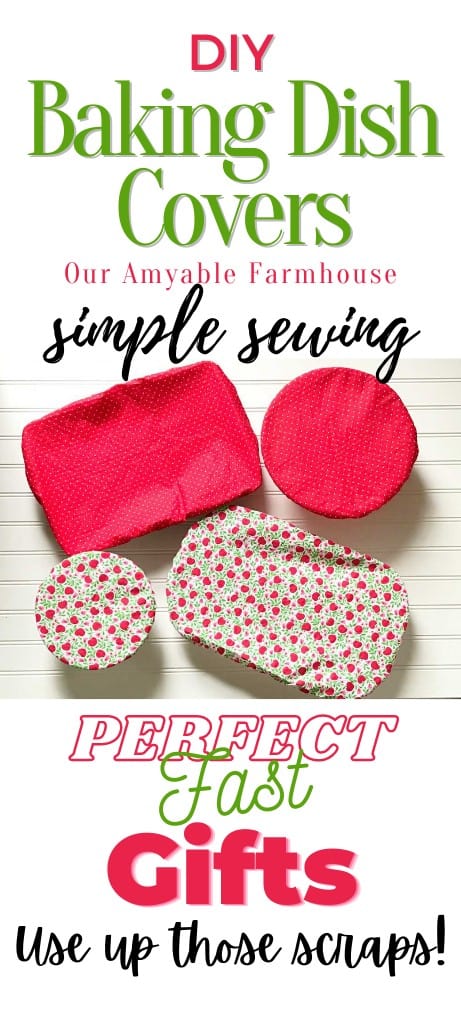
DIY Baking Dish Covers
Materials
- Scrap fabric; you can also use fat quarters if you’re fresh out of scraps. Think super fun prints for gifts seasons, etc.
- Various sized baking dishes like casserole dishes, bowls of all sizes, and platters.
- 1/4 ″ elastic I like to buy this in bulk when possible
- 1 package Extra Wide Double Fold Bias Tape or more depending how many covers you’re making. This can be optional as you could simply create a casing for the elastic by cutting the fabric extra wide by an inch or so.
- Scissors
- Thread for sewing
Instructions
- Place the dish you want a cover for on the wrong side of your fabric. Trace around the outside perimeter, with an extra 1-2 inches. If not using bias tape, add an additional inch to make a casing for the elastic.
- Sew the bias tape to the edge of fabric. Do this by placing the edge of the fabric inside the fold of the bias tape and stitch close to the edge along the opposite edge of the fold. Leave an opening about an inch from the end.
- Measure how much elastic you need by wrapping the elastic around the perimeter of the dish. Using a large safety pin, feed the elastic through the opening you left at the end of the bias tape.
- Secure the ends of the elastic by overlapping its ends and stitching back and forth a few times for reinforcement.
- Sew the end of the bias tape. Enjoy your new, reusable and washable dish cover!
What do you think?
I know, this is super simple. In fact, I hope a professional seamstress doesn’t come across this post. Oh the embarrassment LOL! I’m the first to admit it’s not the most gorgeous thing, but hey! It gets the job done and costs wayyyy less than constantly buying disposable product to just throw away.
I hope you enjoy the simplicity anyway. Maybe I helped you today—what a joy that would be! Thank you for spending your precious time with me. I’m humbled.
January 18, 2026 @ 6:28 pm
Thank you! This is a great project & appreciate your sharing it. Was easy to follow and it’s already saving me money!
March 18, 2021 @ 10:29 am
Great idea!
March 18, 2021 @ 10:28 am
Love it!!!
March 18, 2021 @ 10:31 am
Thank you, mom! Hugs