Homemade Thick Yogurt
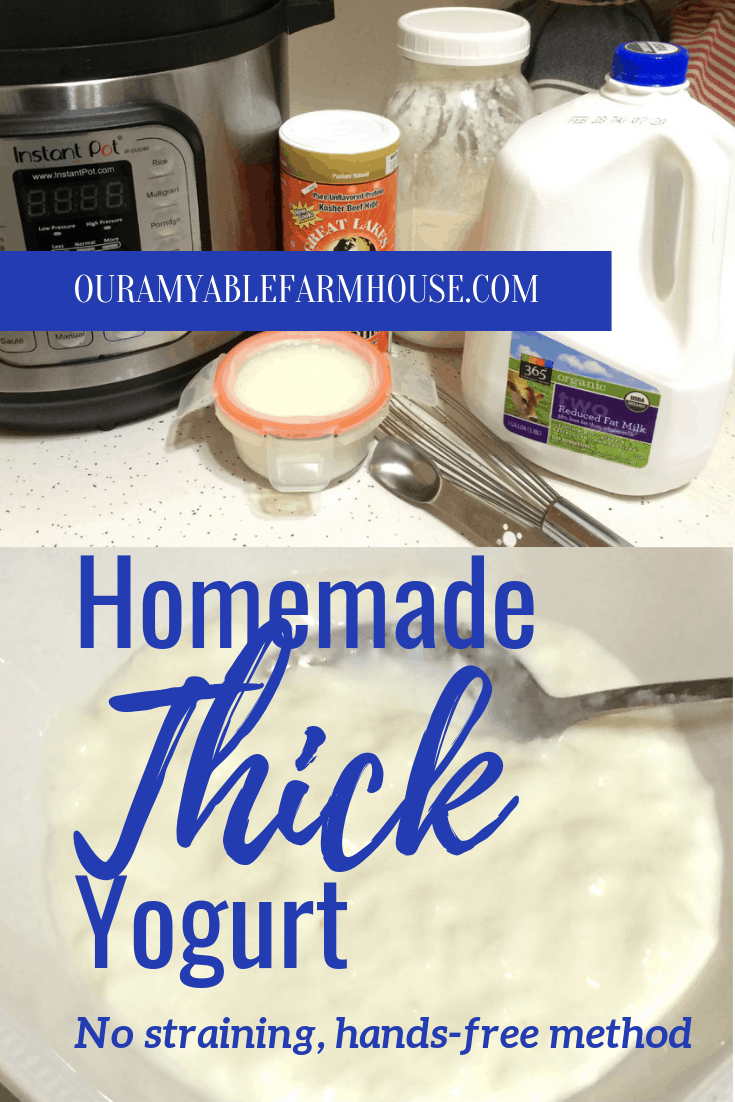
This simple, homemade thick yogurt is made thick because of a secret ingredient. No straining required and made in the Instant Pot makes this a practically hands-free recipe!
If frugality (living by means of making things at home instead of buying them at the store, my definition) were a love language, I think it would be one of mine. I get a satisfying joy out of making the staples we use here in our old farmhouse day in and day out. The joy of knowing that I provided something from my own two hands that helps give health to my family and saves us money gives me a “Proverbs 31” kind of vibe. Hey, I’ll take it!
I’ve made our own homemade yogurt for several years now. It started out of necessity when we were going through a job loss and hard times. Now looking back I can truly see how God uses ALL kinds of circumstances and seasons for our good and growth.
Drawbacks of making your own homemade yogurt
One thing I remember about making yogurt way back when I first started, though, was how I dreaded the process, especially the final step: straining. Straining the whey from the yogurt to produce that thick texture everyone loves (and prefers in my house), made it a chore. First, there was the whole time factor: the slow, drip of whey through the cheesecloth. Drip, drip, drip.
Finally, speaking of cheesecloth, there was the whole rinsing and washing of the cheesecloth, which translated to me with a shout, “EXTRA WORK!” Maybe it was because I was a busy mama of four. I was always looking for ways to get the most done in the most efficient way possible, as any mama does, right?
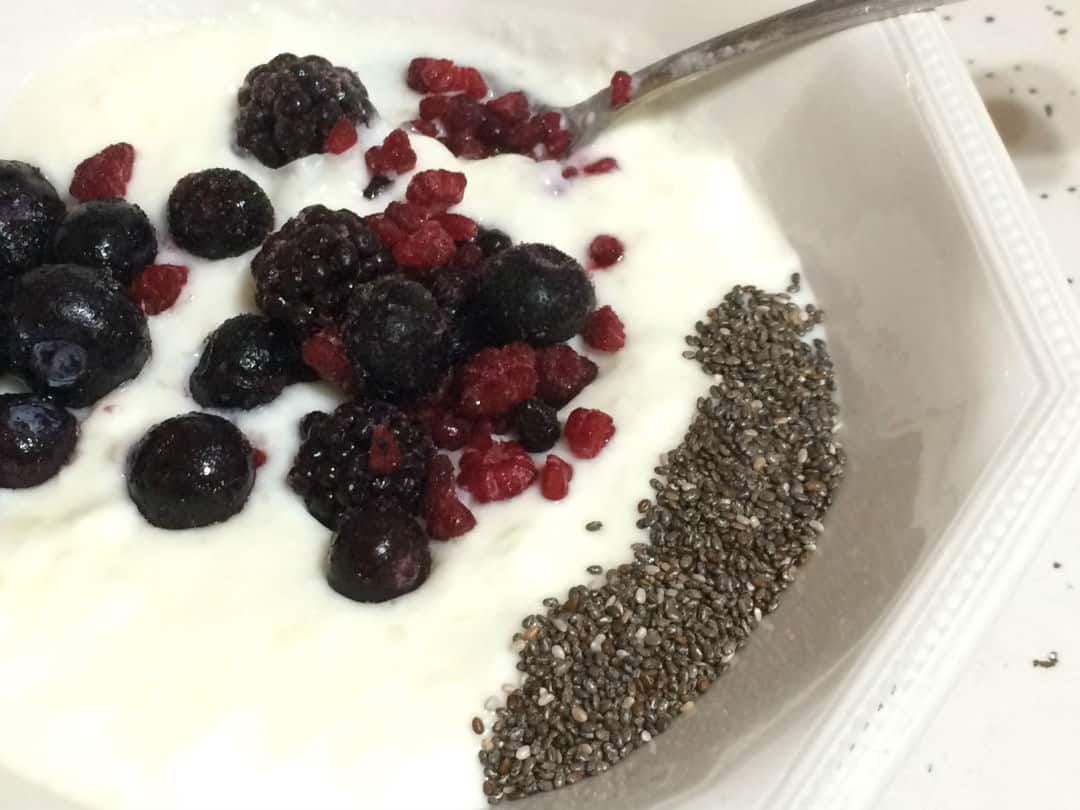
The secret ingredient in homemade yogurt
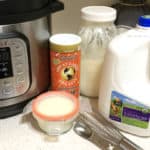
Are you ready for life-changing, strain-free homemade thick yogurt, without the added hassle of straining? (enter drum roll here …) GELATIN! Yes, grass-fed gelatin. Just whisk it in before the culturing process, and when the yogurt’s done, you’ll have made a yogurt that’s frugal, thick, and simply homemade. Hallelujah! It’s the simple things, fellow mama. Celebrate it, I say! 🙂
How I customize my homemade thick yogurt
I follow a Trim Healthy Mama lifestyle. This simply means that I eat my meals and snacks intentionally to provide my maturing metabolism (yeah ok, I’m getting older, people!) one fuel source at a time, at each meal, that it can burn: fat or carbs. If interested, check out the THM website for all the info on this. Fun fact: I lost over 35 lbs. in about a year and a half on this plan! I love it! Above all, it’s sustainable and life-changing.
With this in mind, I make my yogurt as a fuel-pull, or FP (read more about that on the THM website). I start with a 2 % milk, and culture my yogurt for 24 hrs, sometimes only 12 hrs. (Minimum time needed to culture yogurt is 8 hrs.) This amount of time allows for most, if not all, the milk sugars to be “eaten” by the culturing process, making this yogurt a neutral food. I can then choose to use it in a fat-fueled or carb-fueled meal or snack.
Video — homemade thick yogurt
Tools you need
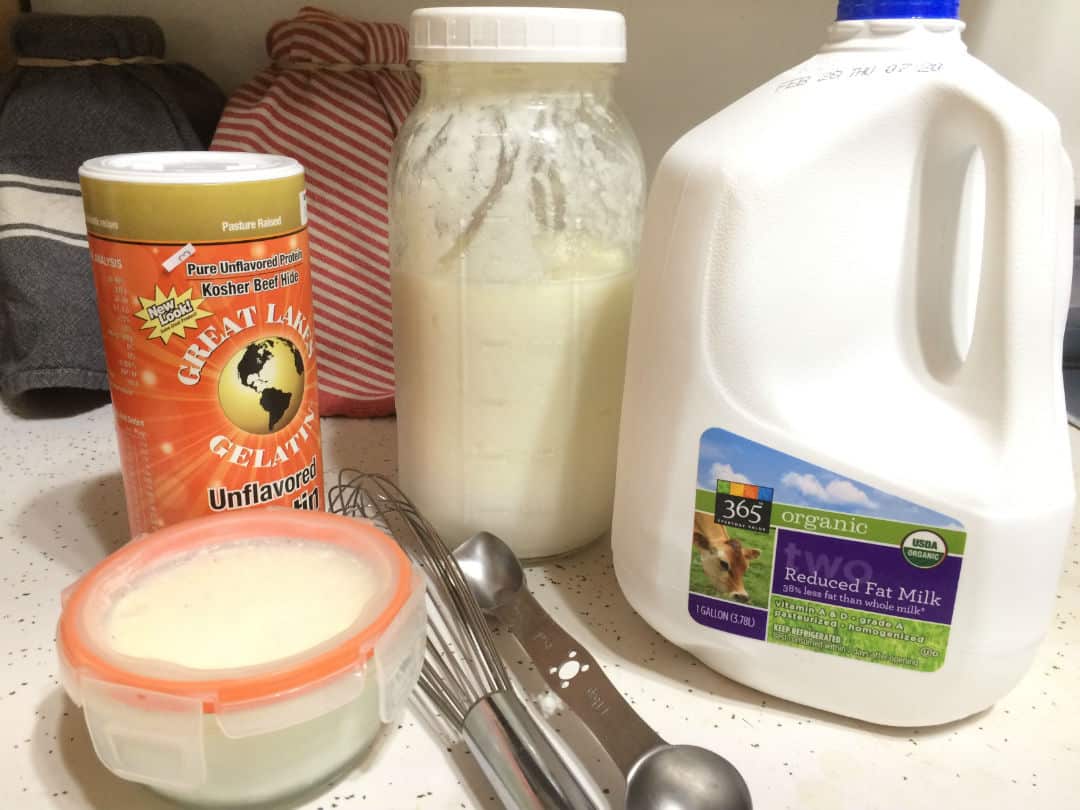
- Instant Pot with Yogurt function
- Extra silicone rings (optional, but good to have on hand for other instances)
- Whisk
- Wide-mouth funnel, like this one
- Ladle
- Glass jars for storage – I use these half gallon glass jars with these caps
Ingredients for homemade thick yogurt
- 1 gallon organic milk, divided – this recipe makes a gallon of yogurt. Adjust recipe accordingly to how much you want to make.
- 1 cup of reserved yogurt from a previous batch, or plain, store bought with live, active cultures
- 2 – 2 1/2 TBL of grass-fed gelatin (I use this brand) – this is adjustable according to how thick you like your yogurt. I use about 2 1/4 TBL for a thick yogurt, not as thick as greek-style, though.
Instructions
- In the Instant Pot with yogurt function, pour 2 cups of milk into the insert pot. Press the Yogurt function and adjust to the “boil” setting. You just want to heat up the milk enough to dissolve the gelatin.
- Sprinkle the desired amount of gelatin over the milk
- Whisk in the gelatin until dissolved. This usually takes a few minutes. Check to see if dissolved when milk appears smooth on the back of a spoon.
- Once gelatin is dissolved, cancel the “boil” setting, press the yogurt function and adjust the setting to the desired culture time
- Now add the rest of the milk to cool the mixture down (we don’t want to kill the reserved/store bought yogurt that we’re using for culturing)
- Next place reserved (or store bought) yogurt in the milk and whisk to combine
- Set the lid on and leave until the cycle is complete
- When the culturing time is over, ladle/pour the yogurt into desired storage containers (like these) and allow to finish setting up/thicken for several hours, or overnight
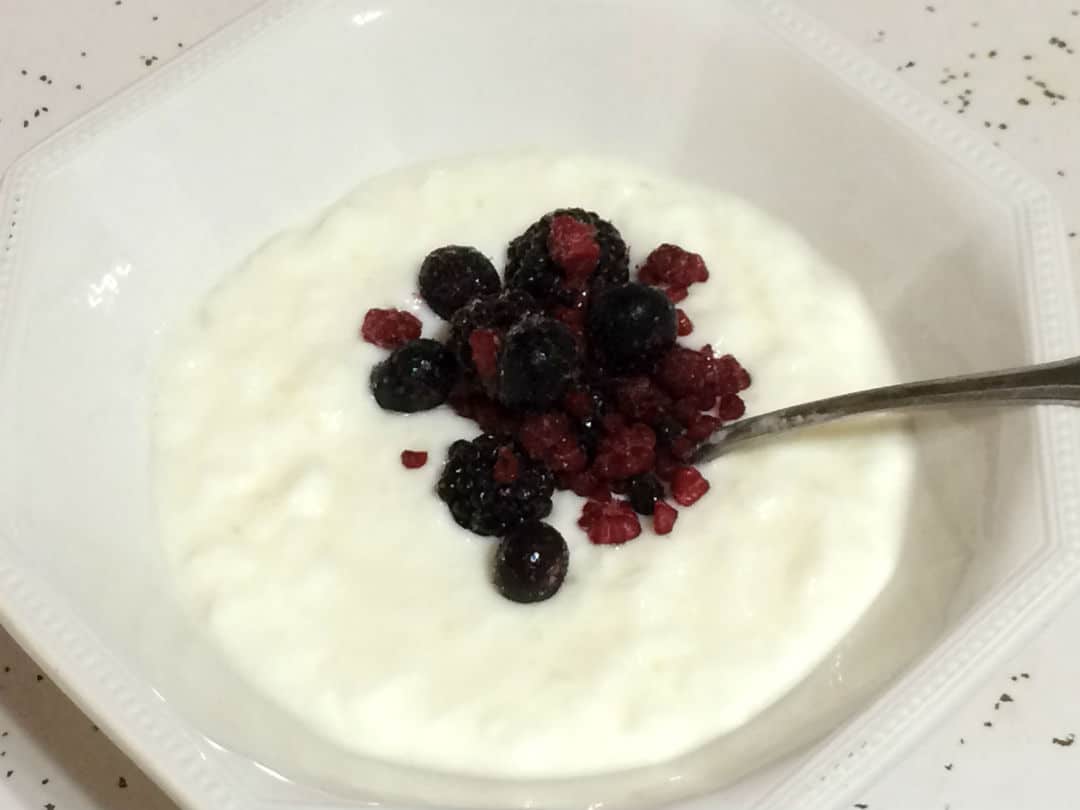
I have kept this yogurt in our fridge for over two weeks and never had our homemade yogurt go bad. However, we’ve always used it before three weeks. Our family uses it for breakfast and snacking, paired with granola, or made into parfaits and smoothies. So good!
Want more simple recipes and DIYs?
Check out my farmhouse faves:
- Sourdough starter from scratch
- All-natural, roll-on deodorant
- Simple, frugal facial moisturizer with SPF
HOMEMADE THICK YOGURT
Ingredients
- 1 gallon organic milk, divided – this recipe makes a gallon of yogurt. Adjust recipe accordingly to how much you want to make.
- 1 cup of reserved yogurt from a previous batch or plain, store bought with live, active cultures
- 2 – 2 1/2 TBL of grass-fed gelatin. This is adjustable according to how thick you’d like your yogurt. I use about 2 1/4 TBL for a thick yogurt, not as thick as greek-style, though.
Instructions
- In the Instant Pot with yogurt function, pour 2 cups of milk into the insert pot. Press the Yogurt function and adjust to the “boil” setting. You just want to heat up the milk enough to dissolve the gelatin.Sprinkle the desired amount of gelatin over the milkWhisk in the gelatin until dissolved. This usually takes a few minutes. Check to see if dissolved with the back of a spoon. If milk appears smooth then it’s dissolved.Cancel the “boil” setting, press the yogurt function and adjust the setting to the desired culture timeNow add the rest of the milk to cool the mixture down (we don’t want to kill the reserved/store bought yogurt that we’re using for culturing)Next place reserved (or store bought) yogurt in the milk and whisk to combineSet the lid on and leave until the cycle is completeWhen the culturing time is over, pour the yogurt into desired storage containers (like these) and allow to finish setting up/thicken for several hours, or overnight
Have you ever made yogurt?
Pin it for later


December 9, 2024 @ 12:06 pm
Try using less yoghurt starter. Only 1 tablespoon (15ml-20ml) of yoghurt starter per quart (or litre) is required. Also, you can put the yoghurt starter in a cup and then add some of the warmed milk to the cup and mix to get a smooth consistency. Then, add it to the rest of the warmed milk. So that the milk is innoculated properly, move a spatula or spoon through the warmed milk containing the starter in long strokes in one direction and then at 90 degrees from your original direction move a spatula or spoon through the warmed milk in long strokes. Perform the criss-crossing strokes for a total of about 10 seconds. There is no need to whisk the yoghurt in the pot.
January 29, 2021 @ 9:58 pm
ewww. gelatin in yogourt is horrible. That’s the commercial way to do it.
Water Kefir Forgotten On My Shelf - Our Amyable Farmhouse
November 7, 2020 @ 12:56 pm
[…] Homemade Thick Yogurt […]