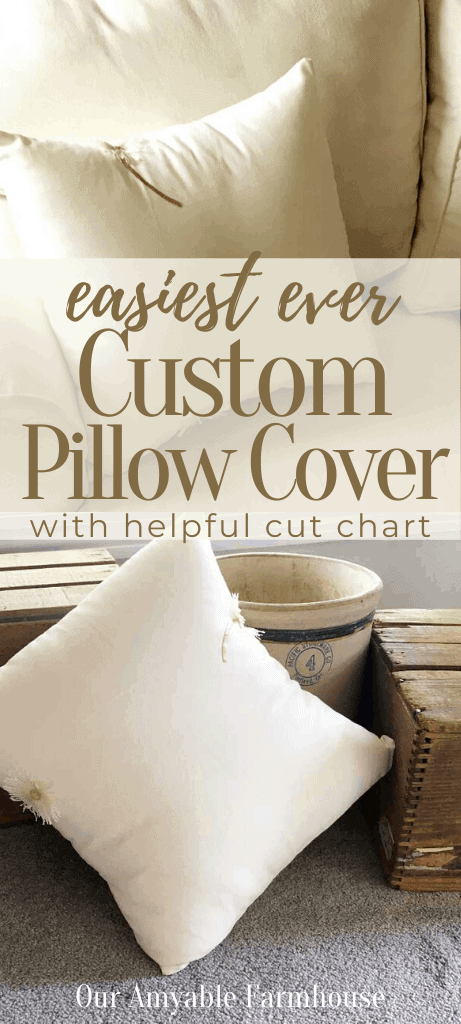
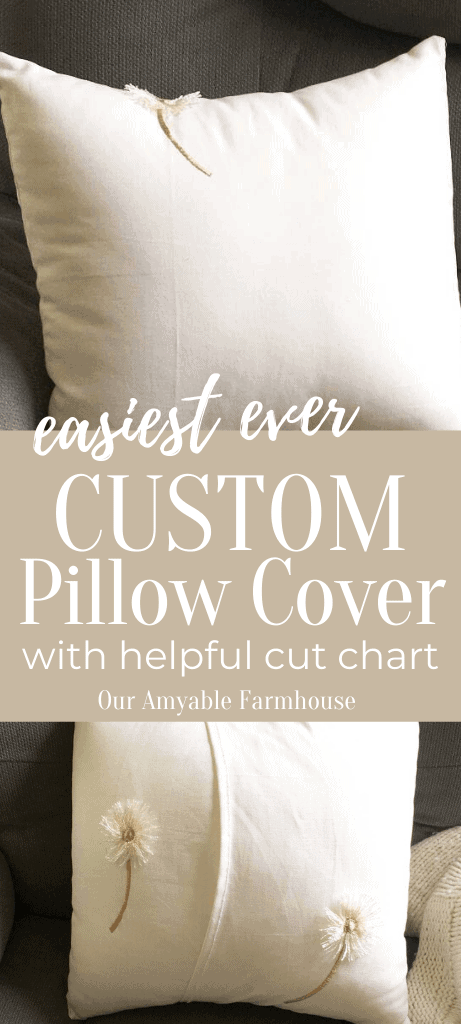
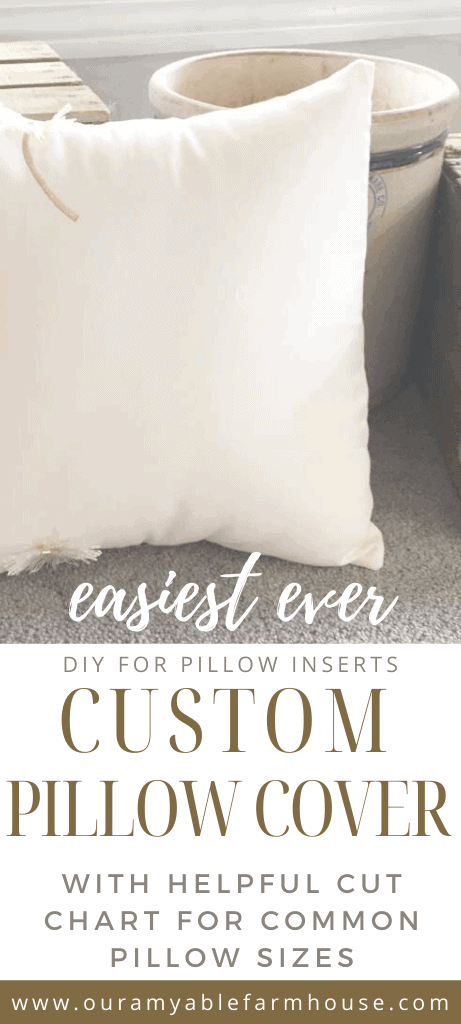
How To Sew the EASIEST Custom Pillow Cover
This simple tutorial will show you how easy it is to make your very own custom pillow cover. Three cuts of fabric, two hems, one seam. Easiest EVER!
Everybody should know how to sew the easiest custom pillow cover. Yep, it’s really the easiest! So of course I just had to share it with you. Because we’re friends like that.
To know me is to know I’m pretty simple. I’m not the complicated sort. OK, my husband may disagree a bit on that one. But that’s because he thinks women in general are complicated. Ha!
I’m all about the quick fix. The frugal tips. The get’r done, got’r did philosophy. Not that I’m impatient AT ALL.
When it comes to house decor I love a simple style option that is also simple to make (because usually it’s cheaper #diyhack).
Although, I sometimes wonder if that show, “Nailed It!” had me in mind. Ya know what I’m say’n?
Materials Needed
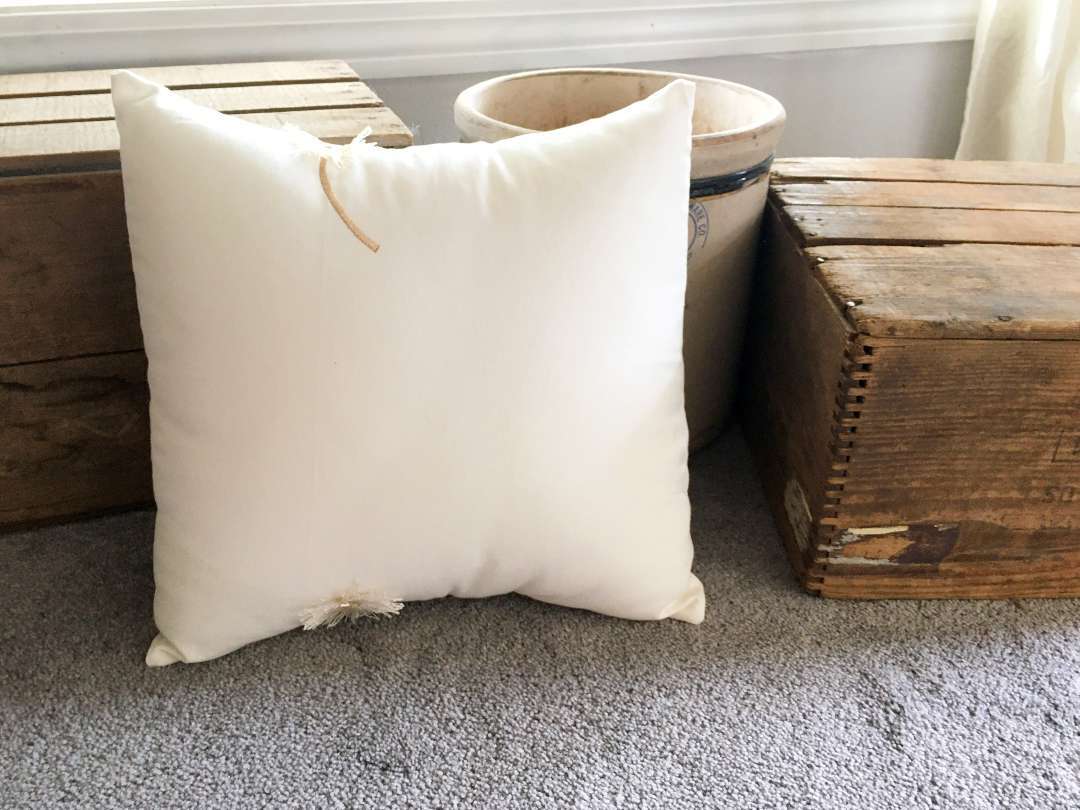
Start with a good pillow insert. There’s always the thrift store, but: quarantine. So, good ‘ol Amazon it is. If you want a quick, cheap option—which I did but can’t wait to buy the pillows I really want from Ikea once this quarantine mess is over— these are the ones off Amazon I used for this tutorial. These look to be a good option, too. You can purchase a variety of sizes. I chose 18×18 because of the amount of material I had on hand. Which brings me to the next thing needed …
Fabric. I had this lovely cream material I found at the thrift store last winter. I was actually looking for something to use as a tablecloth for Beauty #3’s craft table where she was selling her crochet crafts at a bazaar. When I found this material I immediately knew I could turn it into something for our farmhouse later. So I did. Five months later. Hey—never too late, I always say.
You want a nice heavy fabric. Think canvas, linen, upholstery types. I always have my coupons when going to the local Joann store. A heavy cotton would work, too. You just want something sturdy.
Special Equipment You May Need
Sewing machine— this one is a newer model than mine. I love my Janome!
Scissors— mom’s ‘do not touch!’ scissors 😉
Tips For How to Sew the Easiest Custom Pillow Cover
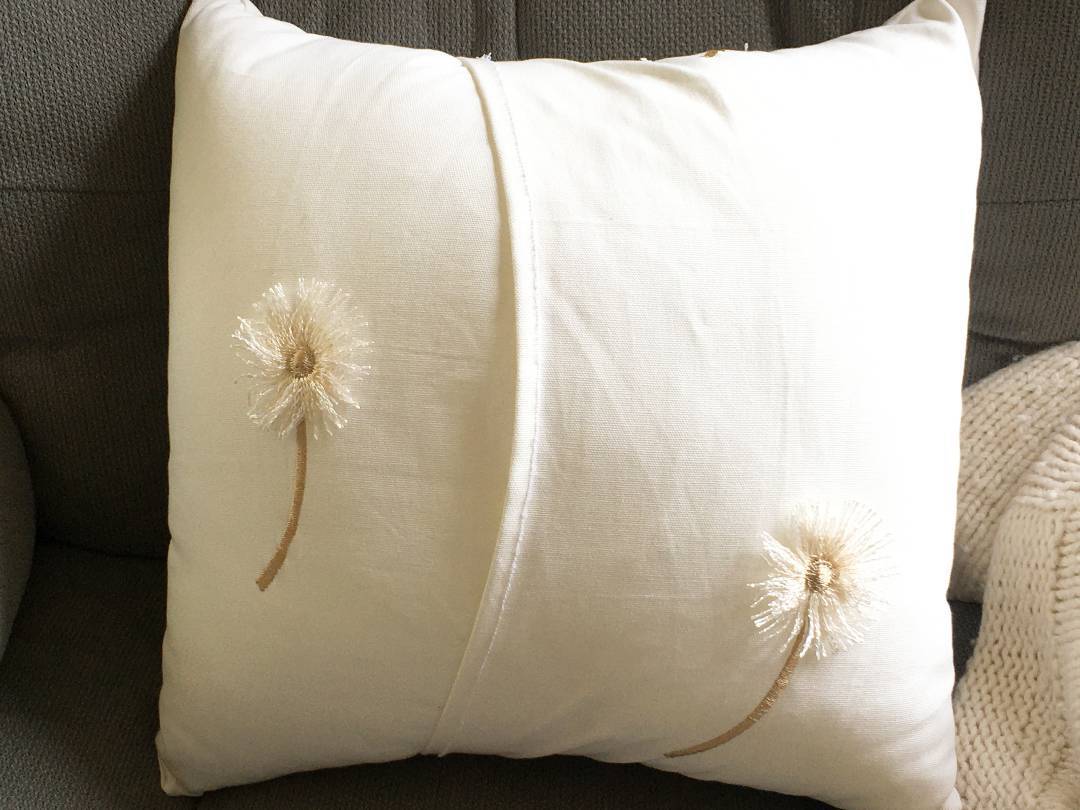
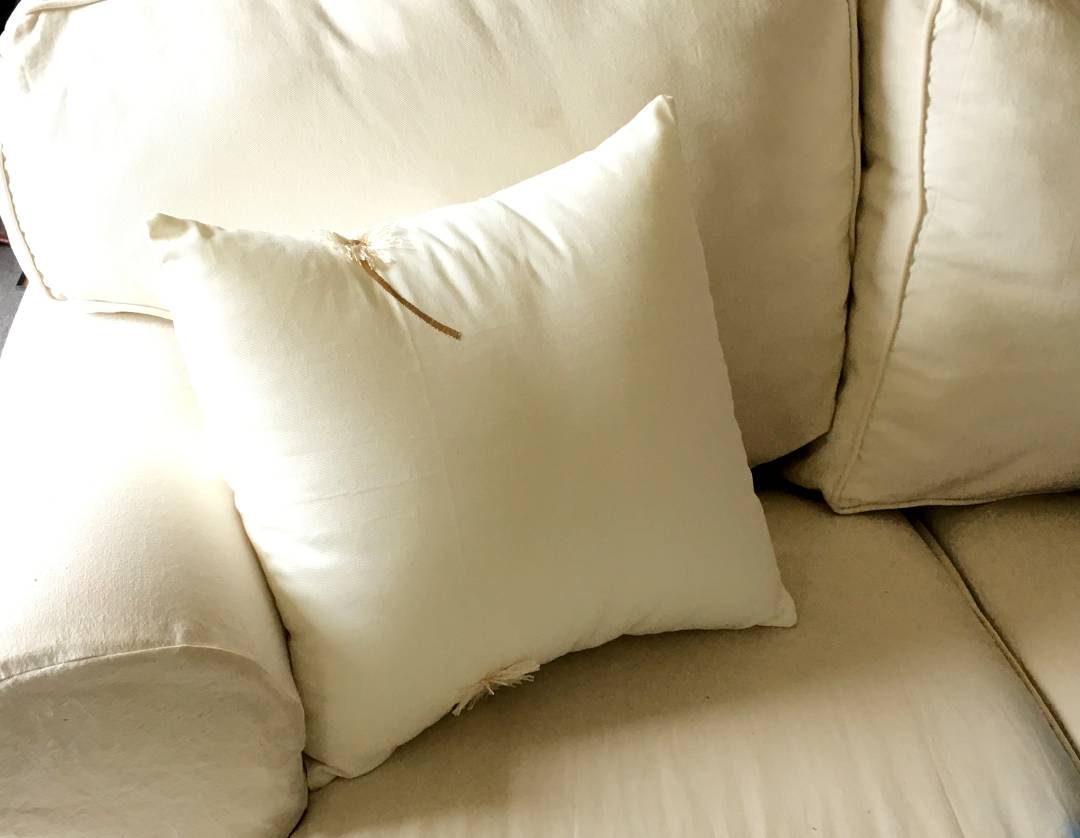
- The simplest pillow covers are ones with envelope-style backs, in my opinion. There’s no zippers or buttons to worry about (which take longer to sew), and the envelope style makes it super easy and quick to wash, and to switch out your style or colors with each season. These covers require just 3 cuts of fabric, two hems, and one seam.
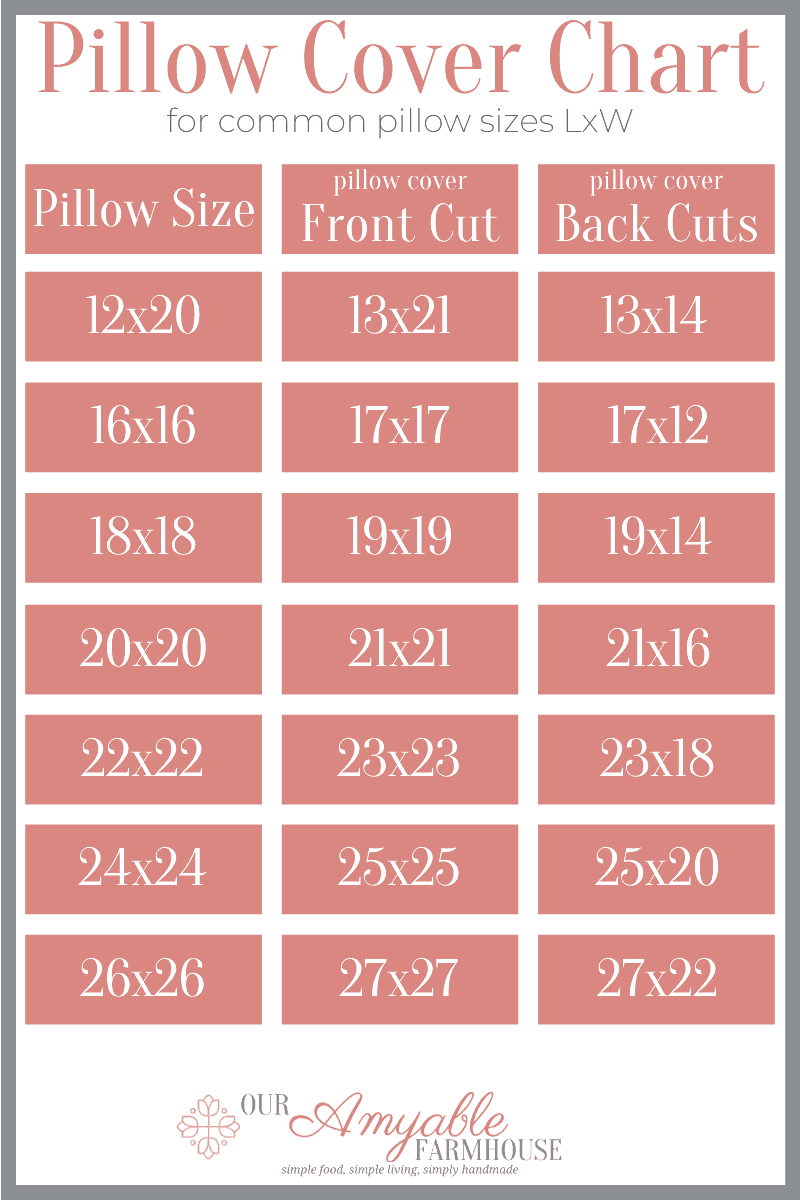
- The rule of thumb when making a pillow cover is knowing what dimensions to cut from your fabric. My basic rule I like to follow is to cut out an inch bigger than the pillow I’m trying to cover. For example, this pillow insert is 18″x18″; therefore, you need to cut a 19″x19″ inch piece of fabric for the front cover piece. I typically use about 1/2″ seam/hem when I sew. You can adjust accordingly to the size of seam/hem you prefer to use.
- The back pieces are cut so that they overlap each other, like an envelope. This makes it easy to insert the pillow and switch it out to wash or change it up. For this 18″x18″ inch pillow insert, I need to cut two pieces that are 19″ L x 14″ W.
Helpful Pillow Cover Chart
Here’s a chart I put together to easily have the measurements you need to cut fabric for your own custom pillow cover. You can apply these figures to any size pillow form for which you’d like to sew a cover. Simply adjust accordingly. ***these measurements are for a 1/2″ seam and 1″ hem
Video Tutorial How to Sew the Easiest Custom Pillow Cover
Instructions How to Sew the Easiest Custom Pillow Cover
- Cut your fabric according to the size of pillow insert you are covering: one front piece; two back pieces.
- Next, hem one long edge on each of the two back pieces.
- With right sides together, line up the back pieces to the front piece, with back pieces overlapping each other. Pin in place.
- Stitch all around.
- Finally, clip corners. Turn right side out and poke out corners.
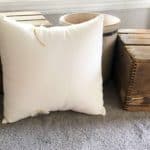
- Stuff pillow into your new insert!
Pin It For Later!
Instructions How to Sew the Easiest Custom Pillow Cover
Equipment
- Sewing machine
- Scissors
- Pins
- Iron
Materials
- 1 Pillow insert of desired size
- Fabric
Instructions
- Cut your fabric according to the size of pillow insert you are covering: one front piece; two back pieces.
- Hem one long edge on each of the two back pieces.
- With right sides together, line up the back pieces to the front piece, with back pieces overlapping each other. Pin in place.
- Stitch all around. Clip corners. Turn right side out and poke out corners.
- Stuff pillow into your new insert!
Video
Notes
- The simplest pillow covers are ones with envelope-style backs, in my opinion. There’s no zippers or buttons to worry about (which take longer to sew), and the envelope style makes it super easy and quick to wash, and to switch out your style or colors with each season. These covers require just 3 cuts of fabric, two hems, and one seam.
- The rule of thumb when making a pillow cover is knowing what dimensions to cut from your fabric. My basic rule I like to follow is to cut out an inch bigger than the pillow I’m trying to cover. For example, this pillow insert is 18″x18″; therefore, you need to cut a 19″x19″ inch piece of fabric for the front cover piece. I typically use about 1/2″ seam/hem when I sew. You can adjust accordingly to the size of seam/hem you prefer to use.
- The back pieces are cut so that they overlap each other, like an envelope. This makes it easy to insert the pillow and switch it out to wash or change it up. For this 18″x18″ inch pillow insert, I need to cut two pieces that are 19″ L x 14″ W.
More Sewing Tutorials
Here’s more projects that are simple, easy, and perfect to get you started making things simply handmade.
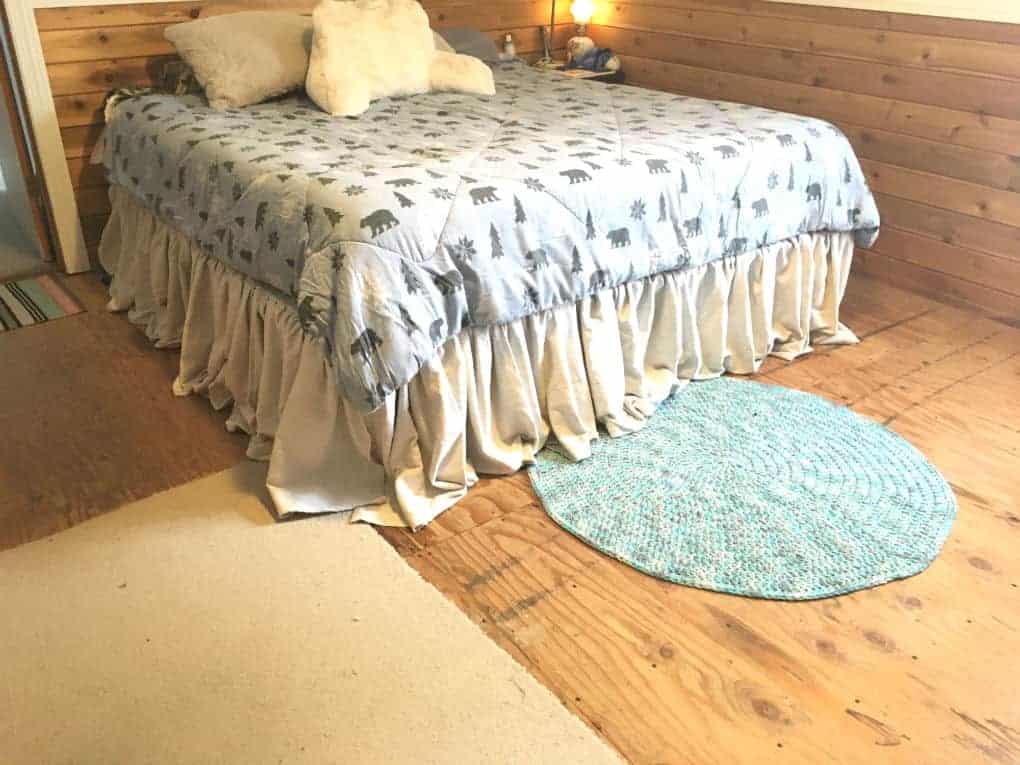


How To Make A Bed Skirt From Drop Cloth
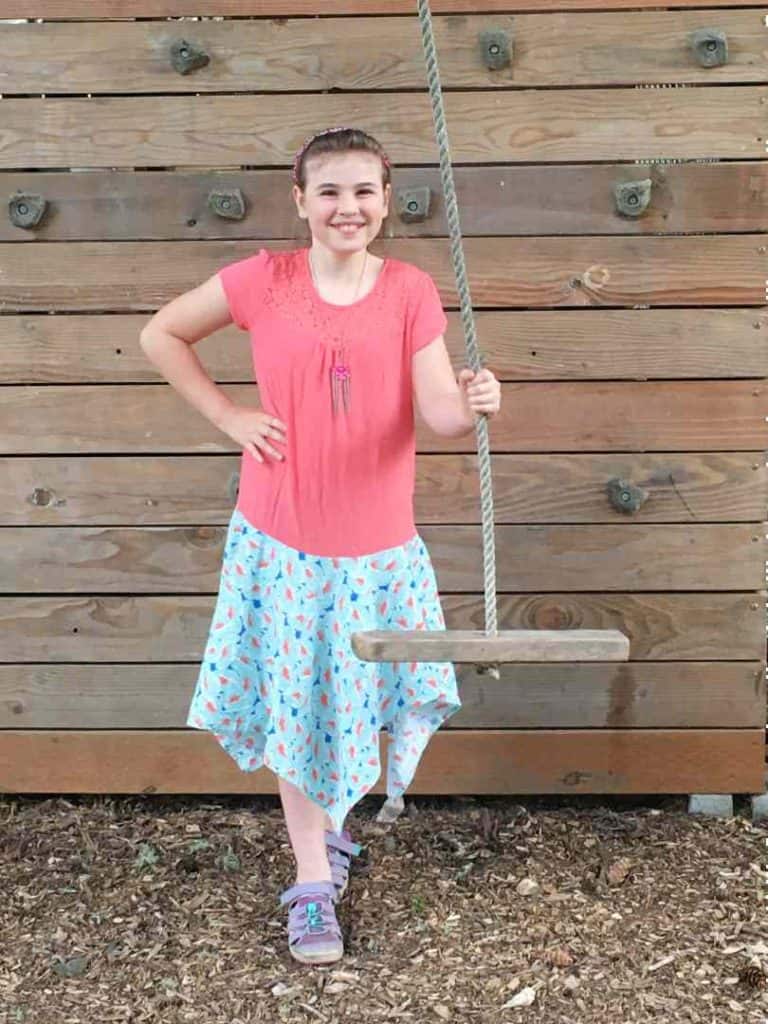
How To Sew Camp Poncho For Kids
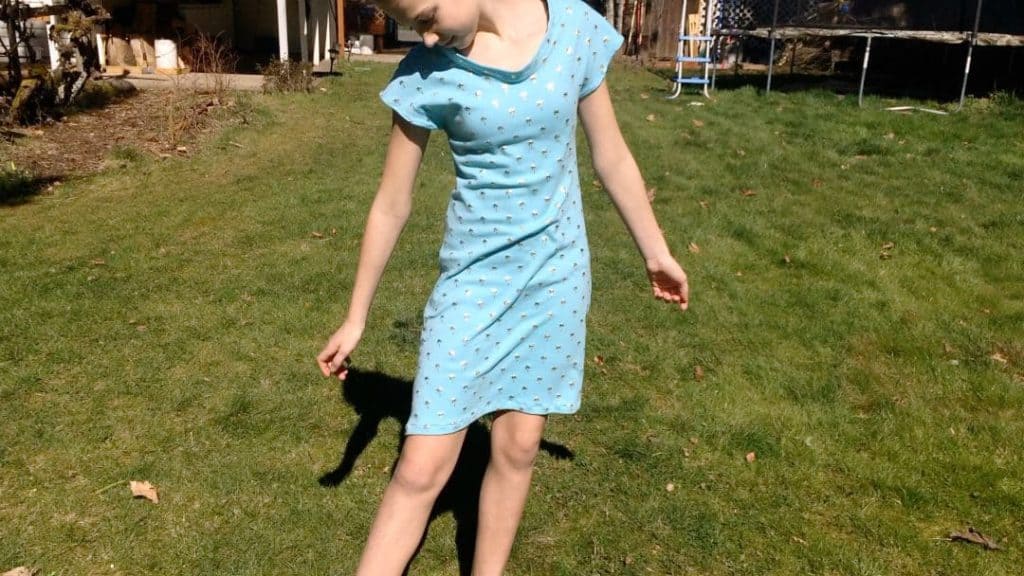
T-Shirt Dress For Girls | Simple Sewing
All my Simply Handmade projects can be found HERE.
Do you sew?
I find that a lot of people may actually own a sewing machine because it was a hand-me-down, heirloom, or gift. But a lot of people just don’t use them. Perhaps they find it too intimidating, or that they don’t have the time. Well, sister, let me encourage you to put that out of your mind TODAY. I mean, we’ve got all this time on our hands with being home during quarantine, right? So let’s learn a new skill. You might have fun, and, sssshhh, you might even like it. LOL! But you’ll definitely have a finished product at the end that you can say, “I made that!” The best feeling. If you make one of these pillow covers, tag me on your social account—I’d love to see it! @ouramyablefarmhouse on IG, FB, YouTube, Pinterest