How to Make a Bed Skirt From Drop Cloth
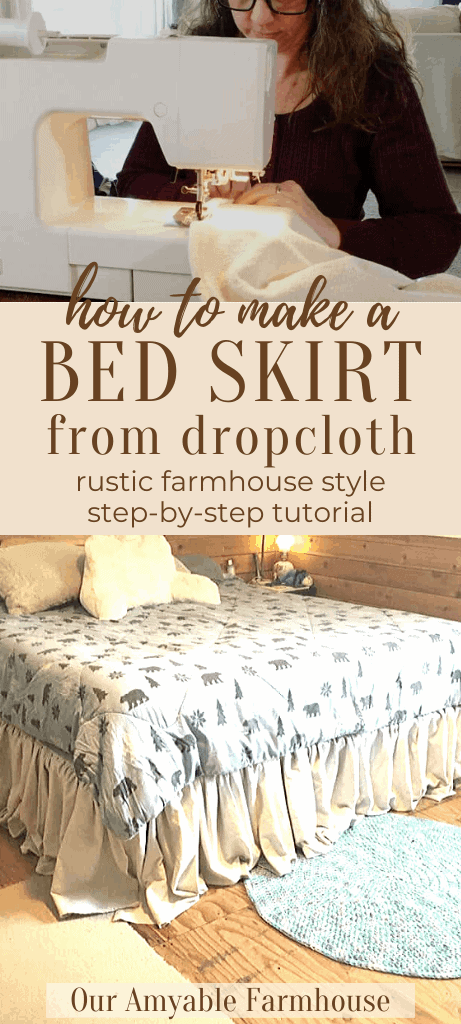
Learn how to make a rustic bed skirt from a single drop cloth. Beautiful and frugal decor to add some simple style to your bedroom.
I wanted to make a bed skirt for our bedroom to give it some rustic style and finished simplicity. OK, who am I kidding … I really just wanted to hide the ugly space underneath our bed where we keep clothes, keepsakes, a scale, the tissue box from the last person who was sick. Ya know, all the things. So, what better way to be frugal than to make said bed skirt from drop cloth purchased at the local hardware store! Bonus: I repurposed an old bed skirt I had purchased years ago from the thrift store. I simply cut off the decorative panels that I didn’t like, and used the center portion as my base to attach the drop cloth panels. Yeah, baby! Here’s how to make a bed skirt from drop cloth.
Video How to make a bed skirt from drop cloth
Pin It For Later!

Why Drop Cloth?
Did I mention how frugal I like to be? Have you ever purchased fabric? It’s spendy, people. I’m the annoying lady that most likely holds up the line as she searches all the apps, mail flyers, and emails for every possible coupon she can use to NOT have to pay the what seems an overly exuberant price for material. Just sayin’.
And when we’re talking yards of fabric to make gorgeous gathers for a bed skirt, well…one must get creative. Thus, enter the beloved drop cloth. The material of peasants. But loved for its rustic, farmhouse charm. At least by me, anyway.
Shop this Post
All Purpose Canvas Cotton Drop Cloth (This is my favorite and bleaches very nicely.)
More Sewing Tutorials
Here’s some of my other projects you may enjoy!
How To Sew A Camp Poncho for Kids — Simple Sewing Tutorial
A Simple Sewing Tutorial | T-shirt dress for girls
Prep the Drop Cloth
On the note of frugality, I had an old bed skirt I purchased from the thrift store and knew that I would use it for the base to which I would attach my skirt material. So I cut off the portions of the existing skirt that I would replace. I measured the length that I wanted my final skirt pieces to be. Essentially how long I wanted the drop cloth to hang and gather on the floor.
Then I cut the length of the dropcloth into 6 equal portions, which would serve 2 sections per side of the skirt (on a bed skirt there are only 3 sides).
Here’s the not-so-fun part of drop cloth: bleaching. Here’s why it’s not my favorite part: I live on property with a septic. That means no bleach on our homestead. Not that I really use it anyway. Just for drop cloth. So off to the local laundromat. I put three sections of my cut drop cloth into two separate washers and used half a gallon of bleach per wash drum. Once the washers were filled with water, I lifted the lids and let the drop cloth soak for 3 hours minimum (I like to soak overnight). I would have liked to let them soak longer, but in the past, someone must have thought they were abandoned and I found them in the trash can. Once the soaking time was up, I closed the lids and let them finish the wash cycle. Then I took them home to dry.
For this project I used the drop cloth you can simply get from Home Depot, but it does not bleach white like my favorite dropcloth does. However, I wasn’t going for white in this project so I didn’t mind the finished color beige-ish with tan undertones.
Time to Sew the Bed Skirt from Drop Cloth
- First thing to do is attach two sections together, end to end. This will create one section. Repeat until the remaining 4 pieces have become just two pieces.

- Now make a hem for each section. I simply roll the edge under 1/2 inch and then again, making it about a 1-inch hem.
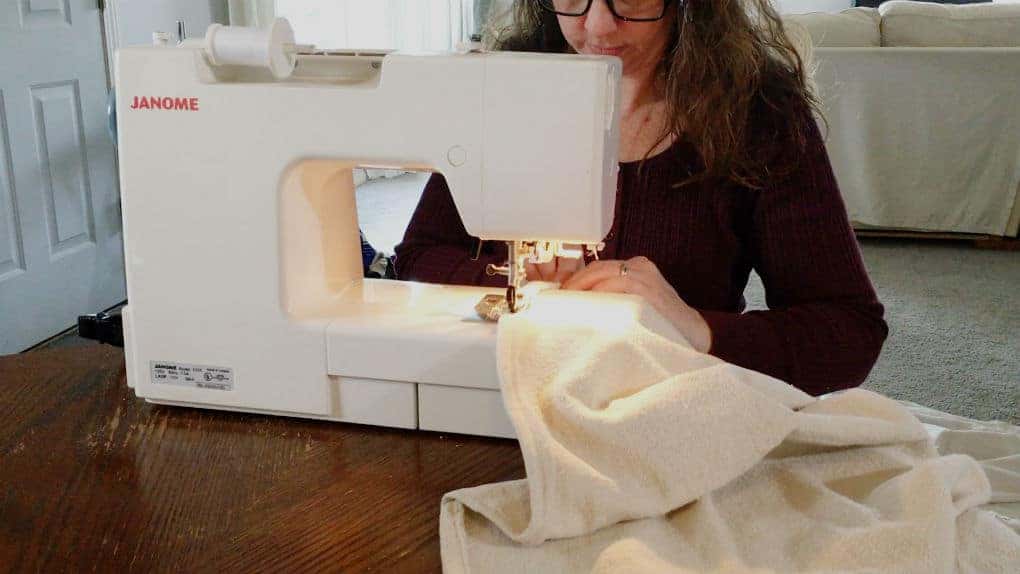
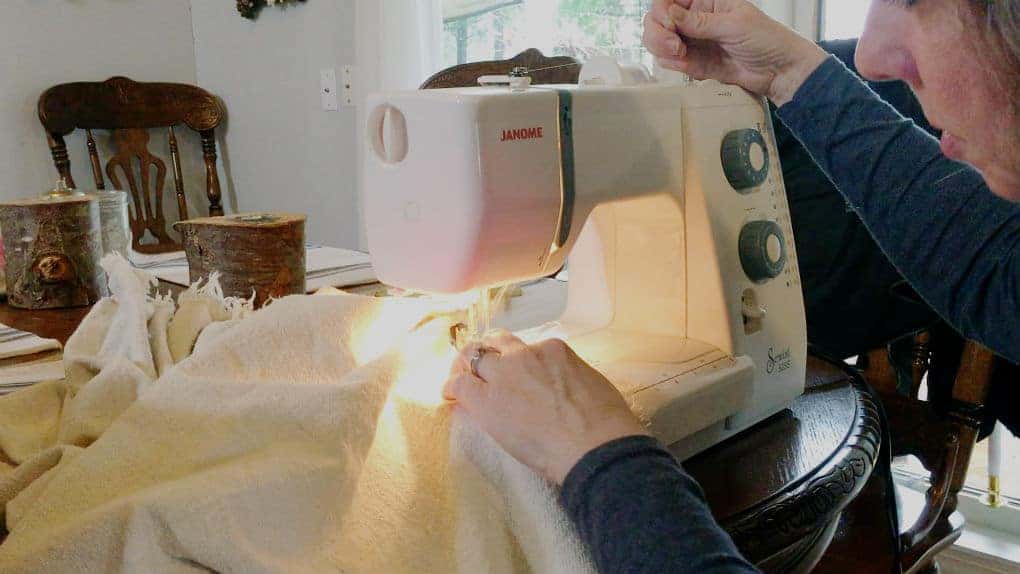
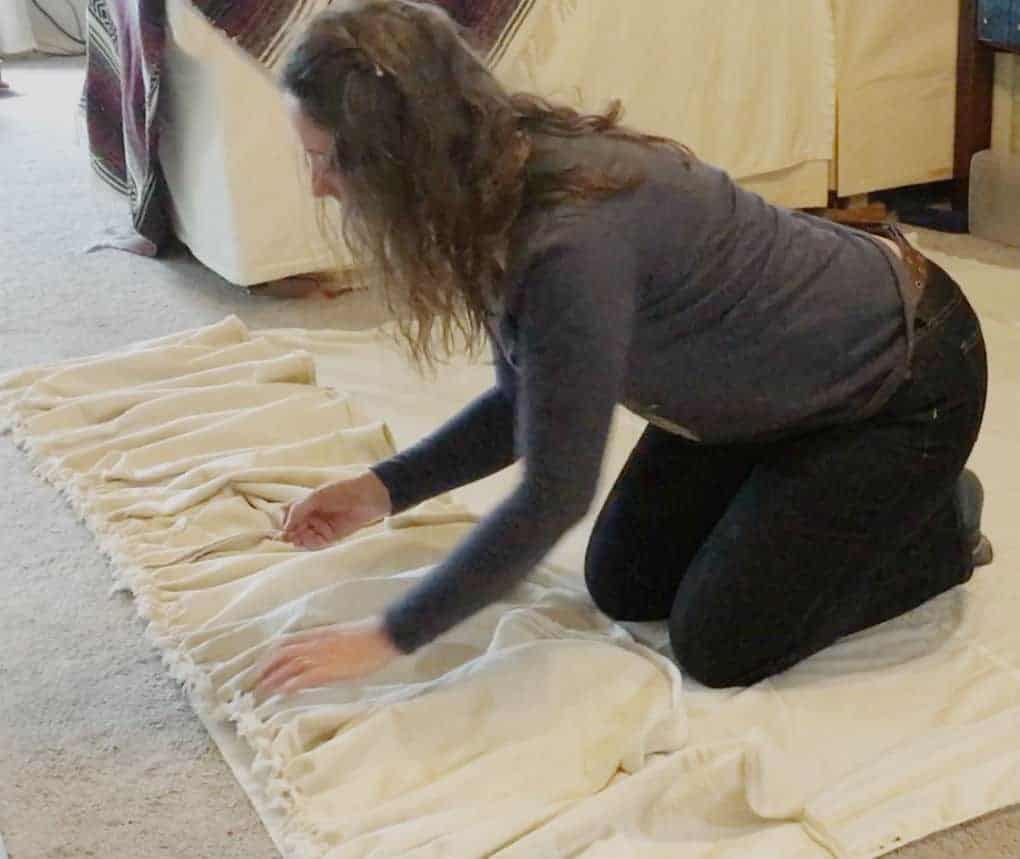
- Once the hemming is all done, it’s time to make the gathers. There are a few different ways to do this. The basic way is to sew a gather stitch, which basically means you sew along the seam line with the stitch length set to the longest stitch, or usually the highest number. Then you gently pull the top thread to gather the material. This is normally how I do it. But with heavier material, like drop cloth, I prefer to let the machine gather for me.

- Simply adjust the tension to the highest it will go. Then adjust the stitch length to the longest. As you sew along the top of your sections, hold the thread that is coming from the spool to create a little more tension. This will create the most beautiful gathers for you! It took a little practice to figure out how much tension I needed by holding the thread, but once I got it, easy peasy!
- Now to finish up! Place the gathered panels on top of the base that you are using (i.e. a repurposed bed skirt like I used, or an old flat sheet you’re not using), right sides together, and pin in place. Sew along a 1/2″ seam. Repeat for remaining panels. BAM! All done! Place your new, gorgeous bed skirt on your bed frame and revel in what you just created. Yes, go ahead and revel! I did. (OK, maybe not the drinking part. Go ahead, look up the definition of revel.)

Project #1 of 1,389 that needs done around this 1910 farmhouse of ours.
This was really an easy project! Let me know if you try it and how you liked it! I’d LOVE to see your pictures. And tag me on facebook or instagram. I’d love to feature it on my stories!
Sharing Is Caring!


How To Sew Farmhouse Placemats Using Cotton Rope - Our Amyable Farmhouse
March 26, 2021 @ 6:06 am
[…] Make a Bedskirt From Dropcloth […]
February 6, 2020 @ 6:43 pm
Love this! Looks easy to make too!
February 11, 2020 @ 2:04 pm
Thank you, Laura!
February 6, 2020 @ 10:54 am
This turned out beautiful, Amy! Haha, I love that you hopped on over to the laundromat to bleach your dropcloth. I’ve never really handled dropcloth before (or sewed anything, period)–is it easy to work with? Learning how to sew is one of my goals this year!
February 11, 2020 @ 2:07 pm
Thank you, Sylvia! I think dropcloth is easy to work with as most fabrics. Learning to sew is a wonderful goal. I hope you love it. Thanks for stopping by!
February 6, 2020 @ 7:20 am
I love this beautiful country decor bedskirt. I can’t wait to make one too. Thank you for the tutorial.
February 6, 2020 @ 9:56 am
You’re welcome, Stephanie! I would love to see how it turns out.
February 3, 2020 @ 6:37 am
Sharing is caring! Thank you for all your goodness!
February 3, 2020 @ 3:21 pm
Oh my goodness, Jersey! Such a sweet thing to say, thank you!