Homemade Naturally-Sweetened Marshmallows
One of the best things of summer is campfires with homemade naturally-sweetened marshmallows. This simple recipe is healthy and nourishing!
Nothing quite brings in summer like homemade naturally-sweetened marshmallows. Warm summer nights with the sparkle of campfire embers inevitably are accompanied by good conversation, endearing moments, and roasting fluffy white pillows of pure delight.
Why Homemade Marhsmallows?
Have you read the ingredients on the package of marshmallows in the store? Maybe you don’t really care. Maybe you just want to try your hand at making a yummy treat because you’re stuck at home during this season of ‘Rona’ and need a new hobby.
Whatever your reason, you can feel good about making these marshmallows.
For my family, I prefer to stay away from all highly processed ingredients, like sugar.
Here’s a look at your typical puffed like a jet marshmallow …
INGREDIENTS: CORN SYRUP, SUGAR, DEXTROSE, MODIFIED CORNSTARCH, WATER, GELATIN, CONTAINS LESS THAN 2% OF TETRASODIUM PYROPHOSPHATE (WHIPPING AID), NATURAL AND ARTIFICIAL FLAVOR, BLUE 1.
Video Tutorial— Homemade Naturally-Sweetened Marshmallows
Here’s an interesting way to roast marshmallows. I kinda like this idea!
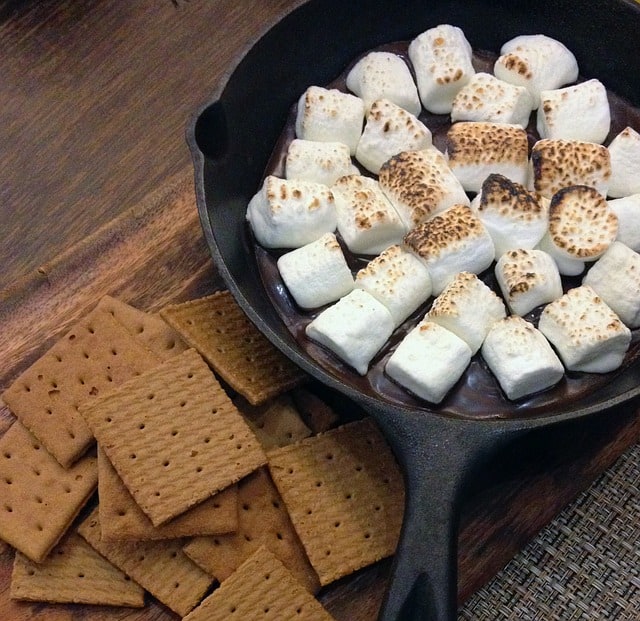
Quality Ingredients for Homemade Naturally-Sweetened Marshmallows
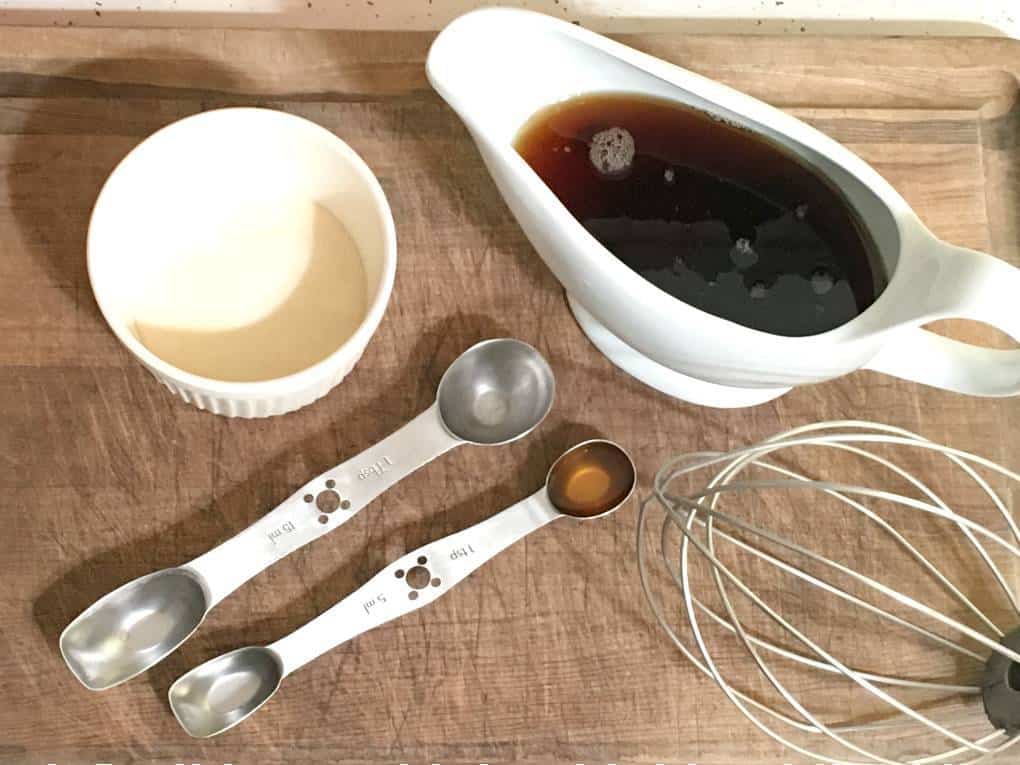
Natural Sweeteners
Instead of using HIGHLY processed sugar like corn syrup, there are much better choices.
Maple syrup is our personal fave. But you can also use honey, sorghum syrup, molasses, or even a DIY sugar-free syrup made with monk fruit or erythritol.
Gelatin
Grass-fed gelatin is what gives these marshmallows their firm composition. But it is also what gives this confection a nourishing component. Enter mom’s ability to declare this a healthy snack. In moderation, of course. 😉
Gelatin is made from the bones of grass-fed cattle. It contains important amino acids and has a host of benefits such as improves gut health and digestion, protects joints and lowers joint pain, helps improve sleep quality, improves skin health, and much more. Source
Pin It!
Tools You Need
Electric mixer with whisk attachment—this is similar to the one I use. I have an old, gifted KitchenAid Heavy Duty K5SS model. Works like a champ! Man cub added some gear grease to it when it started making a weird sound and seized up after about 5 years of my use, and made it work like new again. He’s amazing, he’s my hero!
9×13″ glass dish, or this pretty dish (I like pretty things)
Naturally-Sweetened Marshmallows Recipe
Ingredients
1/3 cup cool water
1/3 cup water, just off the boil
4 TBS grass-fed gelatin
1 cup maple syrup, honey, or sweetener of choice (I’ve also used 2/3 cup monk fruit with great results)
Generous pinch of quality mineral salt (I use himalayan salt)
1/2 tsp real vanilla (learn how I make my own)
Directions
To the bowl of your mixer, add 1/3 cup water and sprinkle the gelatin over to bloom.
To the bloomed gelatin (basically just cool water soaked up by the gelatin) add the off the boil water to dissolve the gelatin. Stir until all dissolved.
Turn mixer on lowest setting and slowly add sweetener of choice. Add remaining ingredients.
Turn mixer up to high and beat until soft peaks form. The longer (stiffer) you beat, the more rustic your marshmallows will look. Not a bad thing. Just a little more difficult to spread into pan for us type-A people. Uh hem.
Pour into a greased 9×13″ pan and refrigerate until set, about an hour.
Flip out marshmallow cake onto cutting board and slice up to desired size.
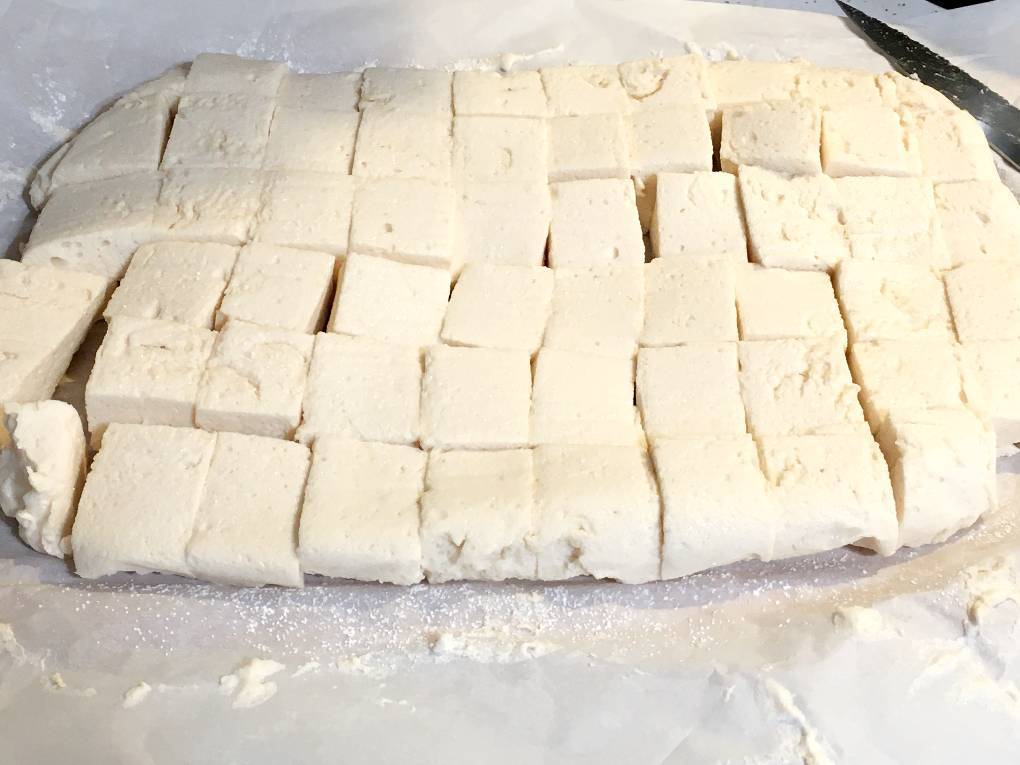
Store in airtight container in fridge or freezer.
Toss in powdered sugar or arrowroot starch to keep from sticking if desired.
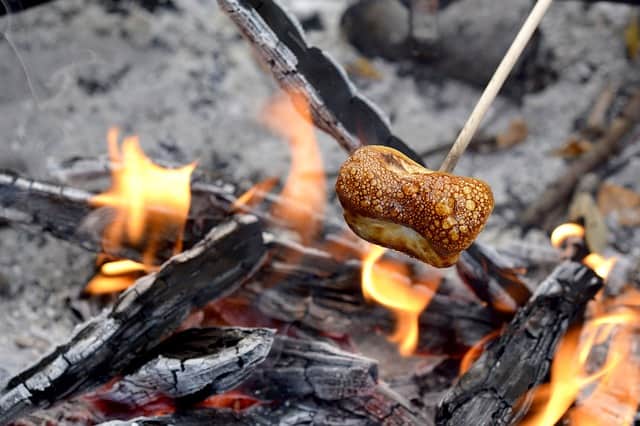
To roast, leave out on cookie racks for several days to create a dry “shell” about them. They toast over campfires BEAUTIFULLY!
More Homemade Recipes to Enjoy
Homemade Salted Caramel Ice Cream
BEST Fudge Brownie Skillet Pie
Hot Chocolate Made Healthy, Frugal
Sourdough Wraps | Starter To The Rescue!
NATURALLY-SWEETENED MARSHMALLOWS RECIPE
Equipment
- Electric mixer with whisk attachment—this is similar to the one I use. I have an old, gifted KitchenAid Heavy Duty K5SS model. Works like a champ! Man cub added some gear grease to it when it started making a weird sound and seized up after about 5 years of my use, and made it work like new again. He’s amazing, he’s my hero!
- 9×13″ glass dish, or this pretty dish (I like pretty things)
Ingredients
- 1/3 cup cool water
- 1/3 cup water just off the boil
- 4 TBS grass-fed gelatin
- 1 cup maple syrup honey, or sweetener of choice (I’ve also used 2/3 cup monk fruit with great results)
- Generous pinch of quality mineral salt I use himalayan salt
- 1/2 tsp real vanilla learn how I make my own
Instructions
- To the bowl of your mixer, add 1/3 cup water and sprinkle the gelatin over to bloom.
- To the bloomed gelatin (basically just cool water soaked up by the gelatin) add the off the boil water to dissolve the gelatin. Stir until all dissolved.
- Turn mixer on lowest setting and slowly add sweetener of choice. Add remaining ingredients.
- Turn mixer up to high and beat until soft peaks form. The longer (stiffer) you beat, the more rustic your marshmallows will look. Not a bad thing. Just a little more difficult to spread into pan for us type-A people. Uh hem.
- Pour into a greased 9×13″ pan and refrigerate until set, about an hour.
- Flip out marshmallow cake onto cutting board and slice up to desired size.
- Store in airtight container in fridge or freezer.
- Toss in powdered sugar or arrowroot starch to keep from sticking if desired.
- To roast, leave out on cookie racks for several days to create a dry “shell” about them. They toast over campfires BEAUTIFULLY!
Try It Out!
This recipe is so easy, quick and fun! The perfect way to get your kids involved in the kitchen with you. They’ll LOVE the results.
Have you every made marshmallows? Did you find them hard to roast?
P.s. We did. That’s why I had the grand idea to dry them out a bit to help them not dissintegrate over the fire before that coveted toasty coat was achieved. Anybody? So I thought … I’ll just use the dehydrator. On the lowest setting, of course, D U H H H. Welp, let’s just say it didn’t work. Another pool of goo. Hint: dry them out while waiting oh-so-patiently for days. Yeah. That’s the hardest part of this whole thing.
Summer marshmallows = patience and forethought.
Winter marshmallows = divine cocoa and coffee, AKA instant pleasure!

May 26, 2025 @ 11:18 am
Yummy and delicious!!!!! We go less sweeter, and using fruit juice instead water gives fun flavors and colors.
November 24, 2024 @ 1:20 pm
The first time was a complete fail, BUT the second time I boiled 2/3 cups of water and poured that over the beef gelatin and immediately turned my mixer on high that way it completely dissolved and never clumped, then I warmed my maple syrup and poured it in on low like instructed while adding the salt and vanilla. Once I set the mixer on high within 3 minutes it was peaking and I was able to spread it in the pan.
November 26, 2024 @ 8:15 am
I followed your modifications and they turned out perfect!
November 24, 2024 @ 1:20 pm
The first time was a complete fail, BUT the second time I boiled 2/3 cups of water and poured that over the beef gelatin and immediately turned my mixer on high that way it completely dissolved and never clumped, then I warmed my maple syrup and poured it in on low like instructed while adding the salt and vanilla. Once I set the mixer on high within 3 minutes it was peaking and I was able to spread it in the pan.
November 18, 2024 @ 11:13 am
Same as most of the commenters. I watched the video and did as she did, and it came out lumpy and didn’t peak as much, and couldn’t fill the 9×13 dish. I followed the advice of another commenter and melted it all then whipped it again and it turned out perfect and smooth. Delicious flavor though, not sure what we all are doing differently from the author as clearly it works in her video. Anyway, we’ll make them regularly by heating up the finished product!
November 23, 2024 @ 7:47 am
So, update on my review. I made another type of marshmallow and it actually does make a big difference to boil the honey. These marshmallows had a very strong honey flavor and if you boil the honey, it tastes much more like a marshmallow than pure honey. I do like the consistency of 4 tablespoons of gelatin though.
October 9, 2024 @ 1:50 pm
Would be great to have an idea of how long to beat, the best look for the peaks and I do think boiling the maple syrup with the water might be the best way to accomplish these marshmallows
August 16, 2024 @ 2:35 pm
What a disappointment. I wish I could attach a picture. Not sure how this small amount is supposed to fill a 9×13 pan. I followed the recipe to the ‘T’ and double checked all measurements.
June 11, 2024 @ 7:30 am
Can you clarify a bit on boiling … other recipes mention boiling part of the mixture until a certain temperature is reached
May 27, 2024 @ 10:49 am
This is the second time I made these. They turned out perfect both times and are delicious. First time I made them for my wife for Mother’s Day to go with dessert for her Mother’s Day Dinner of Prime Rib, baked potatoes, salad, au jus, and horseradish sauce. My wife and kids love these marshmallows and constantly ask me to make them. Will definitely continue with this recipe. Thanks
February 5, 2024 @ 12:46 pm
I followed the recipe as writen and had the same issues many others who have commented are seeing – it wasn’t fluffing up. Mine turned into this tan, mushy, nasty looking stuff. I ended up throwing everything into a pot, melted it down, and let simmer for a few minutes. I then put it back in my mixer immediately and they fluffed up beautifully! They are setting up now, hopefully they set up well.
November 10, 2023 @ 9:25 am
Worked beautifully! My girls love them!
October 20, 2023 @ 10:35 am
Honestly kind of wish I could give it zero. Why are you not answering the people who it didn’t work for?? We need tips!! I just wasted so many ingredients.
November 2, 2023 @ 8:25 pm
I just made marshmallows for the first time just now….they are in the drying stage. I didn’t use this recipe but it’s similar. The one big difference I see is that I heated my sweet er (I used honey) in the stove with water and a pinch of salt before adding it to the bloom. I let the honey and water slowly come to a boil and then once it started boiling heated another 7-8 minutes. My candy thermometer broke…but if you have one, you want the temp at 240°.
Then slowly add the heated sweetener syrup to your bloom while mixing. Once all mixed in, then I added the vanilla and turned up in high until I got my fluff. Then transferred to my container.
I’m curious if anyone following her video/instructions missed the “just off the boil” step where they added the hot water to the bloom to dissolve it first before adding the sweetener of choice, salt, and vanilla?
9 Pro Metabolic Recipes for the Fall - The Virtuous Home
September 28, 2023 @ 12:46 pm
[…] Potato Casserole – Here is a marshmallow recipe you can […]
September 12, 2023 @ 6:05 pm
These worked for me! Be patient with your mixer as it turns the mixture into fluff. I definitely overmixed mine, so they were quite ugly/still tasty. Loved the simplicity of this recipe. And that I only dirtied my mixing bowl! Will definitely make it again!
July 28, 2023 @ 9:35 am
We had no issues getting this recipe to work. I did use honey rather than maple syrup.
Reading the reviews made me nervous, but I’d already told my boys we were going to make them.
My boys loved watching their marshmallows fluff up!! They set up wonderfully, but we’re also pretty well formed and fluffy just straight from the mixer. We’ll definitely make these again! I wanted to try with agave but it seemed too thin/runny, but our maple syrup is the same consistency.
Thanks for sharing!!
June 26, 2023 @ 11:42 am
It didn’t work for me. Not sure what I did wrong.
May 22, 2023 @ 10:22 am
Terrible results. I’m bummed.
May 16, 2023 @ 1:40 pm
I don’t understand why my won’t fluff up. I do everything you do and it’s never fluffs up it just becomes gel. What am I doing wrong!!??
October 8, 2023 @ 1:58 pm
How on earth is this working for people? I followed the directions exactly as written and all I’m coming up with is a gelatinous maple syrup mixture. No stiff peaks, no marshmallow creme texture. I’m stumped
January 28, 2023 @ 5:18 pm
No. What sort of witchcraft magic are you using to make this work?! Going to the store to get more ingredients, but the first two times were a disgusting fail. But we’re determined!
December 1, 2022 @ 2:59 am
Hi there,
Have you tried to make marshmallows using homemade gelatin?
I’m experimenting making my own gelatin and so far all I accomplish is marshmallow fluff 🤦♀️
July 16, 2022 @ 8:40 am
Is there a reason you don’t hear the syrup? This is the only marshmallow recipe I’ve seen that doesn’t heat the syrup to soft ball stage, so now I’m curious as to why heat it if it works to not heat it. Your recipe seems easier and faster.
May 16, 2022 @ 2:01 am
Quick question about using monk fruit: do you use 2/3 cup of granulated monk fruit and pour that directly into the gelatin mixture? No making a syrup first?
May 17, 2022 @ 10:40 am
Good point, Kathleen!
I have only used the monk fruit/erythritol blend directly into the mixer as stated in recipe, while adding a cup of water to replace the liquid part, and it’s worked out perfect. Making a syrup first is not necessary, but a great idea. Thanks for chiming in and clarifying!